Five Easy Steps
Quickly see crowds of YOUR characters in a game, in less than 15 min
The Process
- Import a Template Character – A 3D model that meets your required technical specifications (e.g., topology, rig, textures, etc.).
- Create Shapes – Generate Shape variations (e.g., tall, heavy, identity-based characters) using Popul8’s Shape Editor, or import variations created in external software.
- Import an Asset Catalogue – Add Deformables (garments, grooms, accessories, etc.) to make them available for any variation.
- Create Crowds – Build collections of characters that follow the Template’s technical requirements, incorporating shape variations and complementary assets.
- Bridge to Unity or Unreal – Seamlessly export your characters from Popul8 to your preferred game engine.
Step by Step
After you have installed Popul8 you will see the Projects menu, where all your projects will be available.
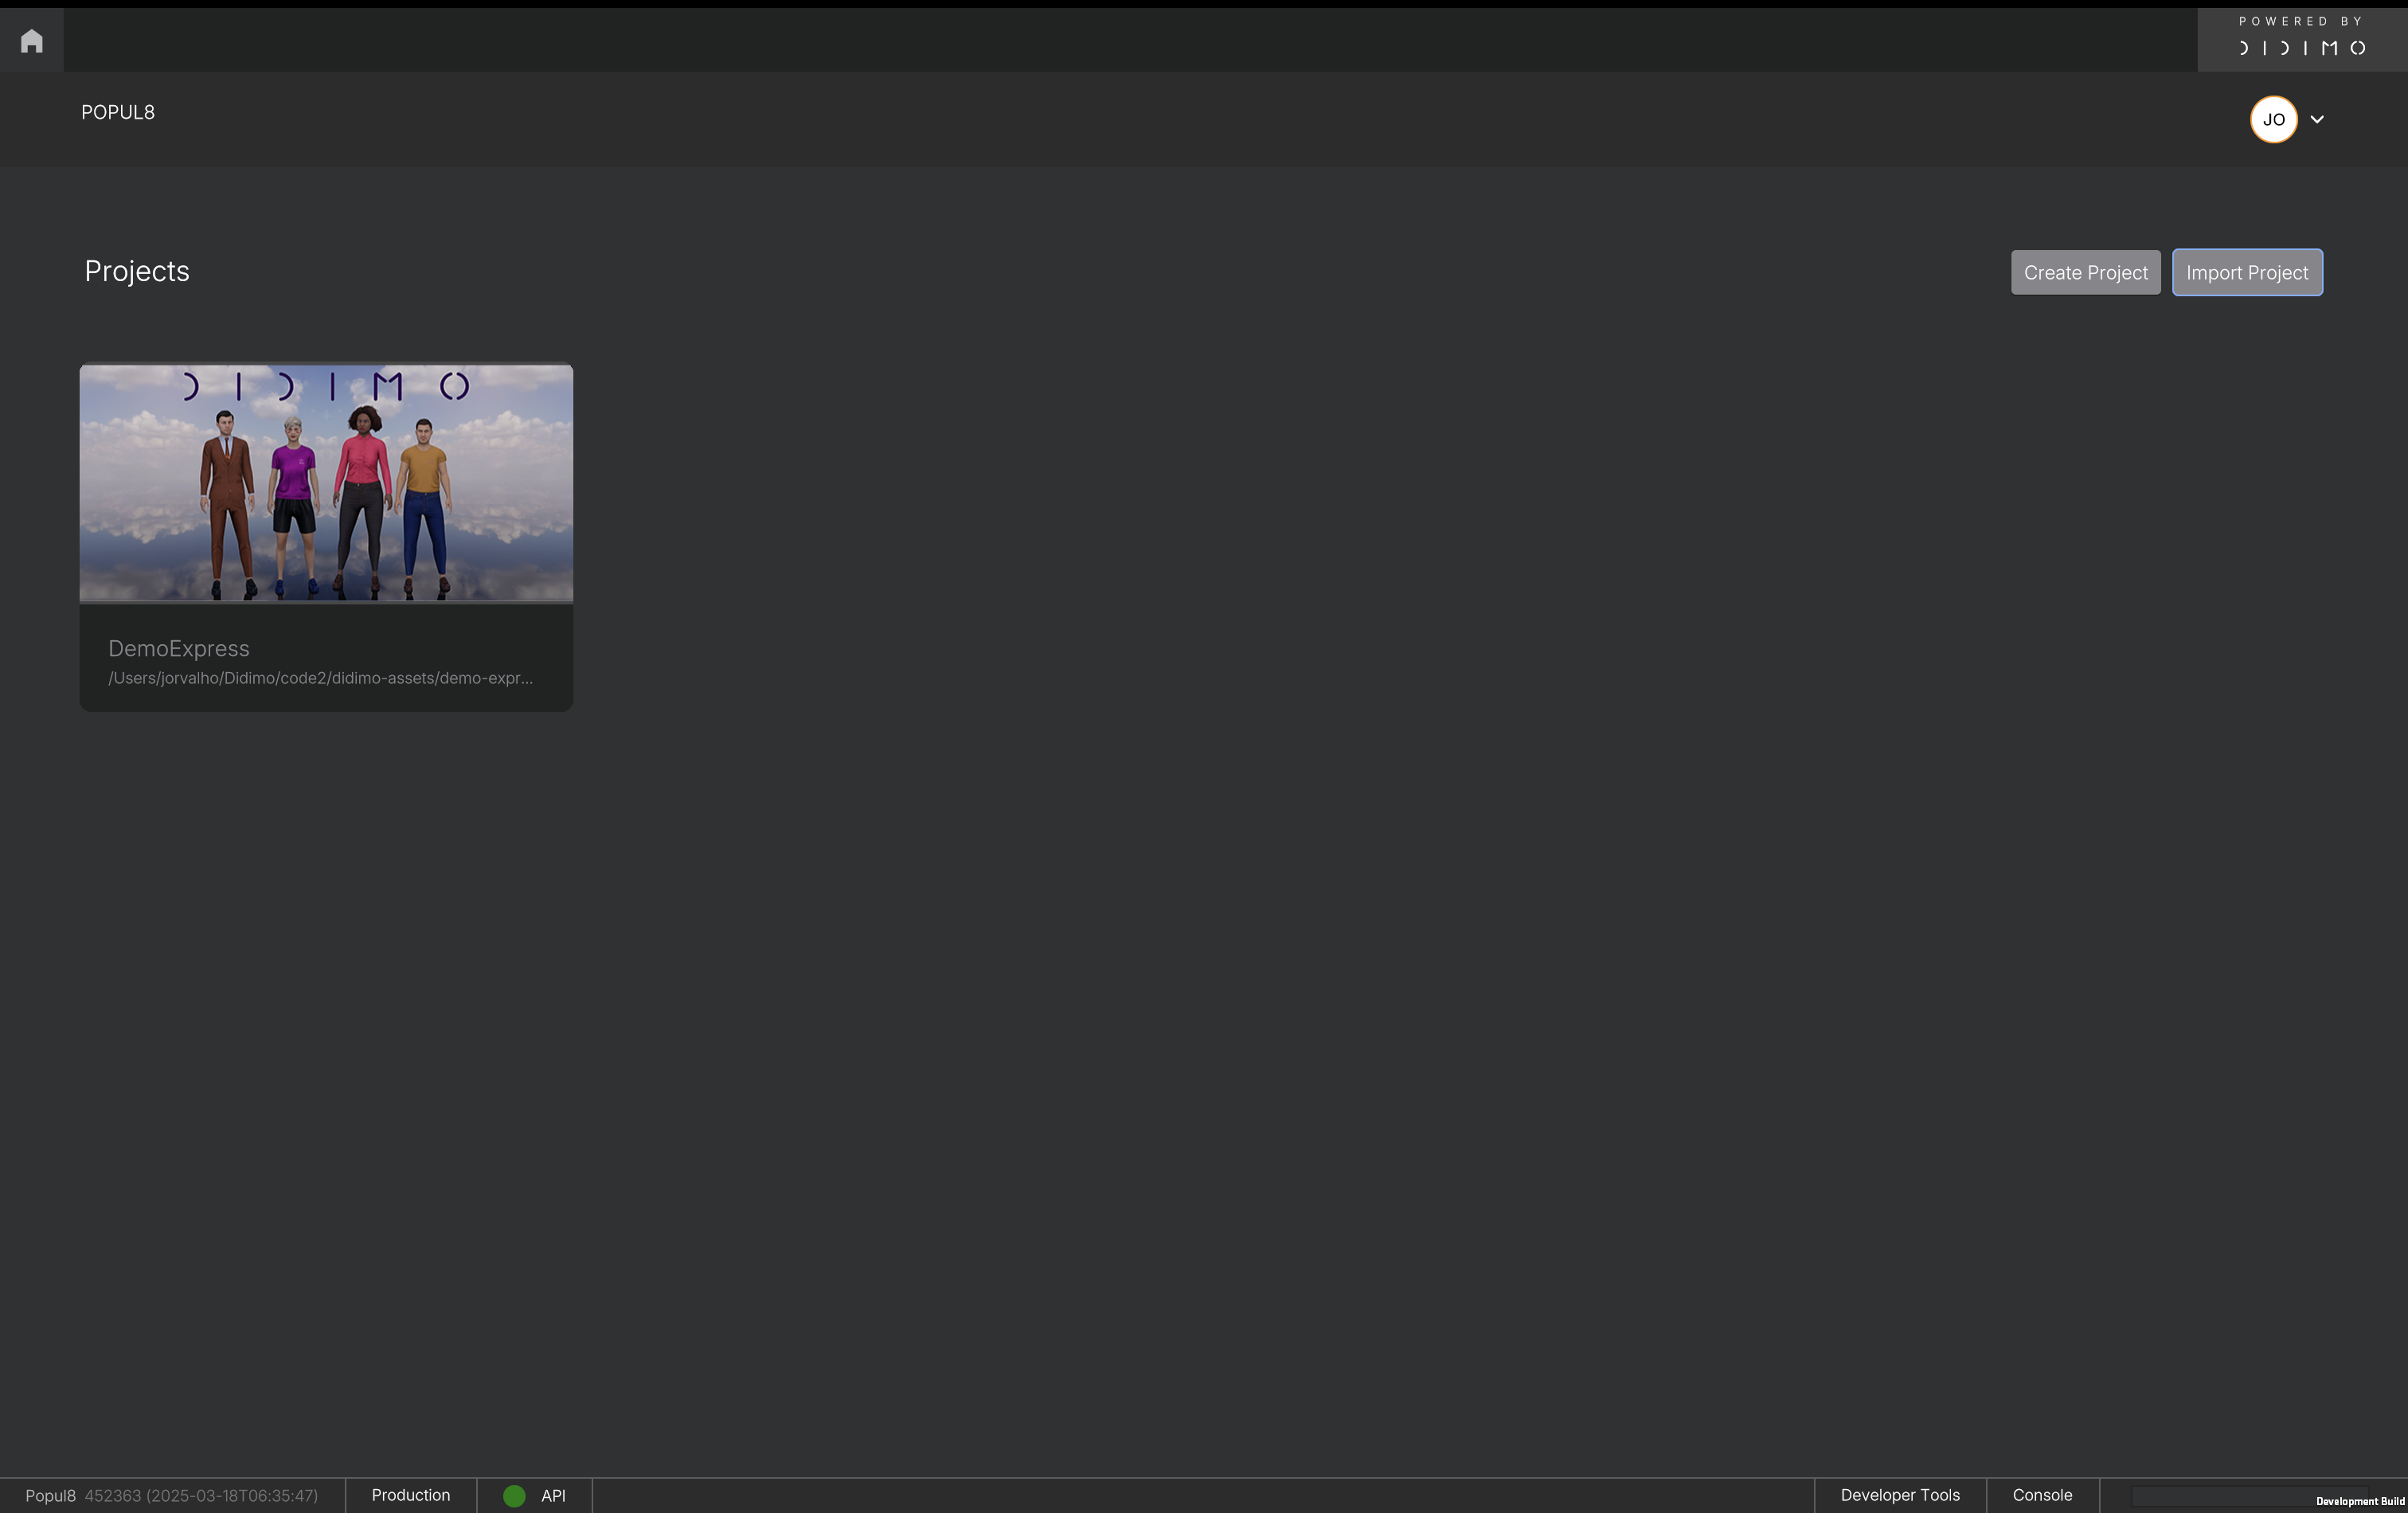
To create a new project, click on Create Project, define the project name, and select the folder where you have your assets.

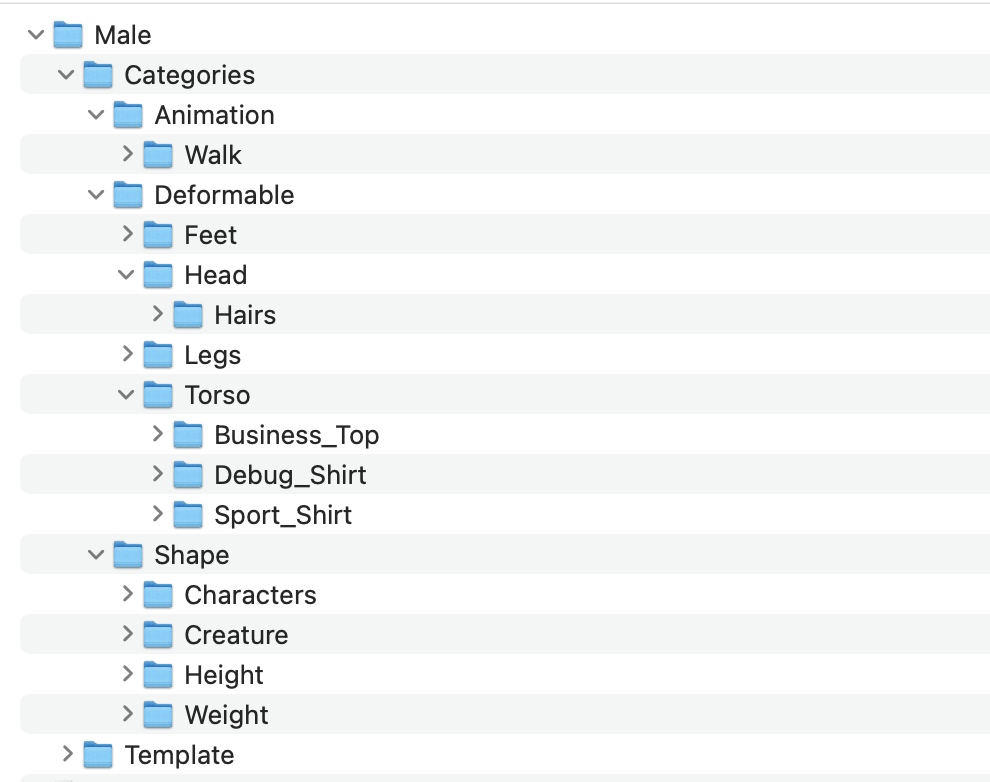
The Location Folder should contain, organised into folders for better data management, all the files you are going to use - Template with its textures, any Shape, Deformables (e.g., garments) and Animations. All of the 3D assets must be a FBX.
1. Import a Template Character
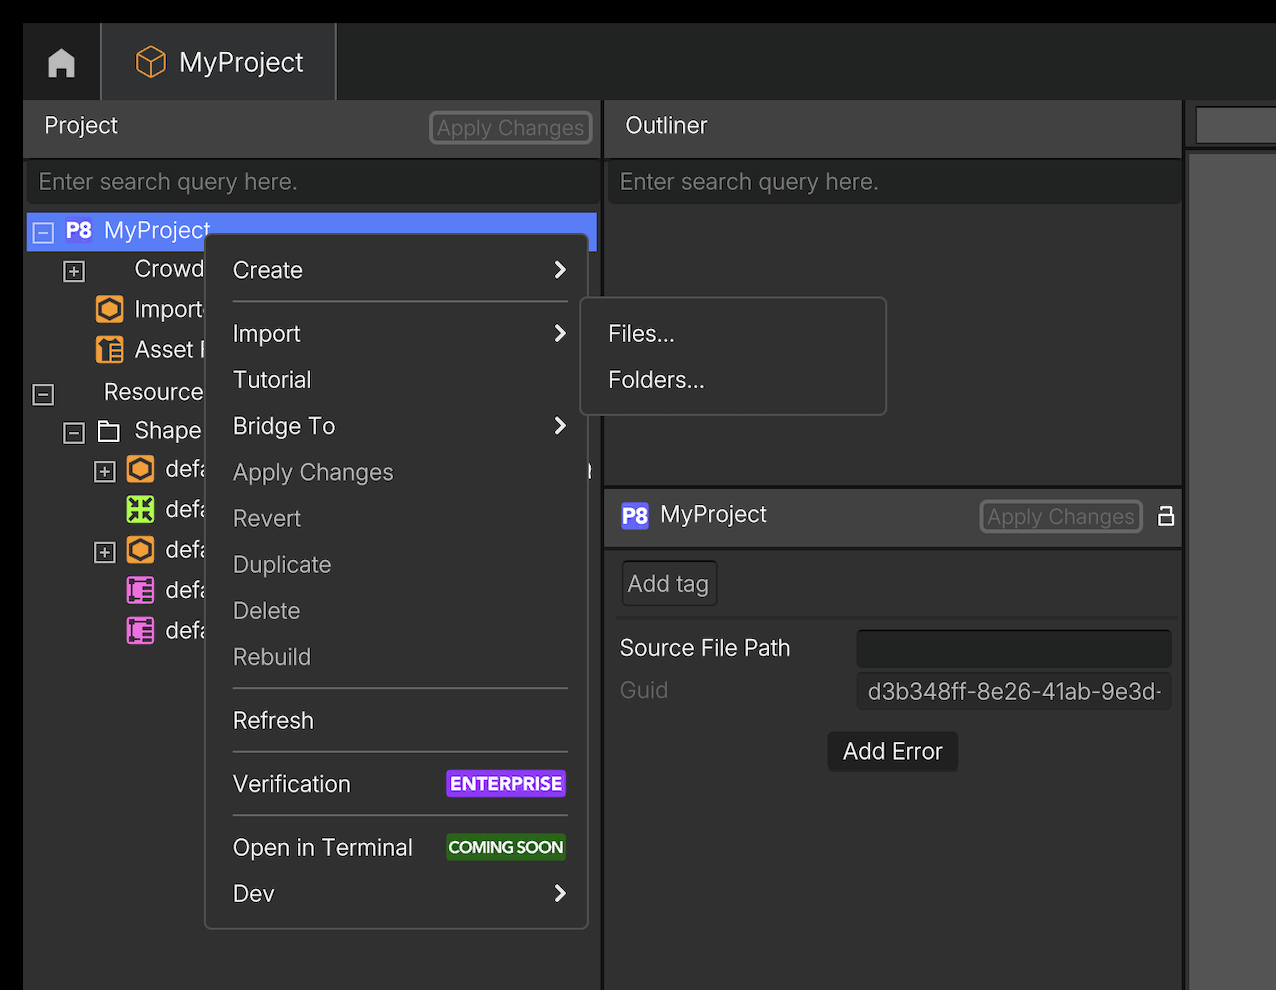
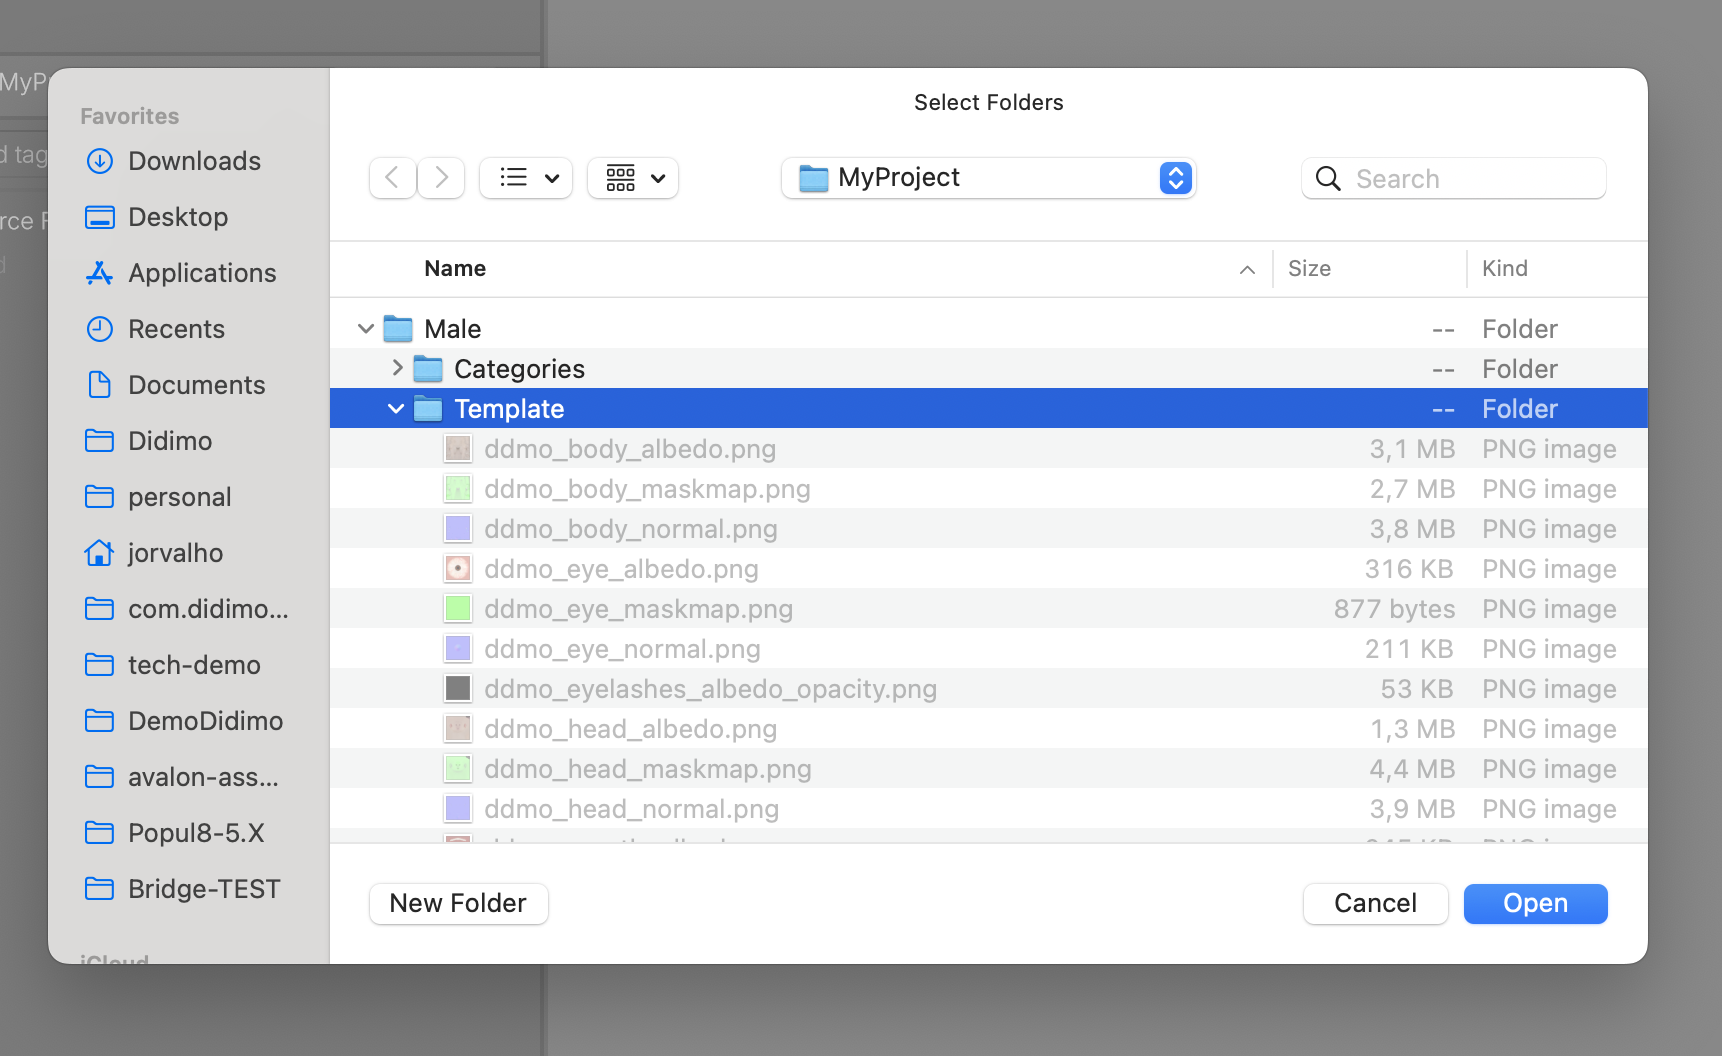
Import your Base Character, we call this your Template, by using the functionality of Import Folders... into the Project Tree.
Then go to Imported Assets folder and Convert this Model into a Template
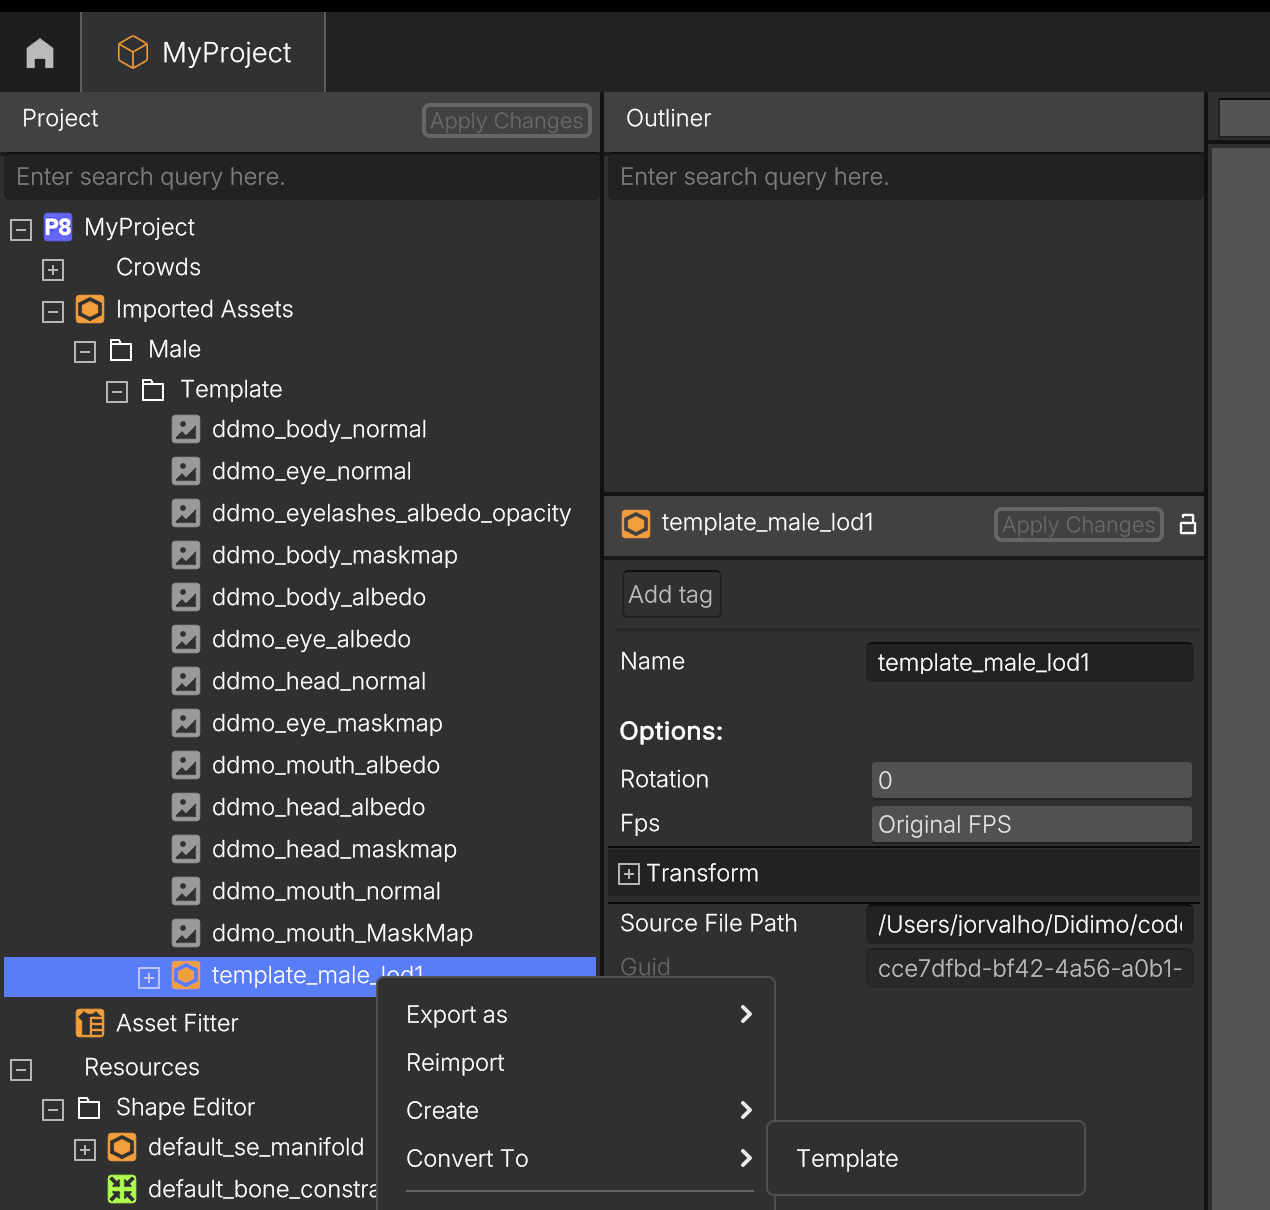
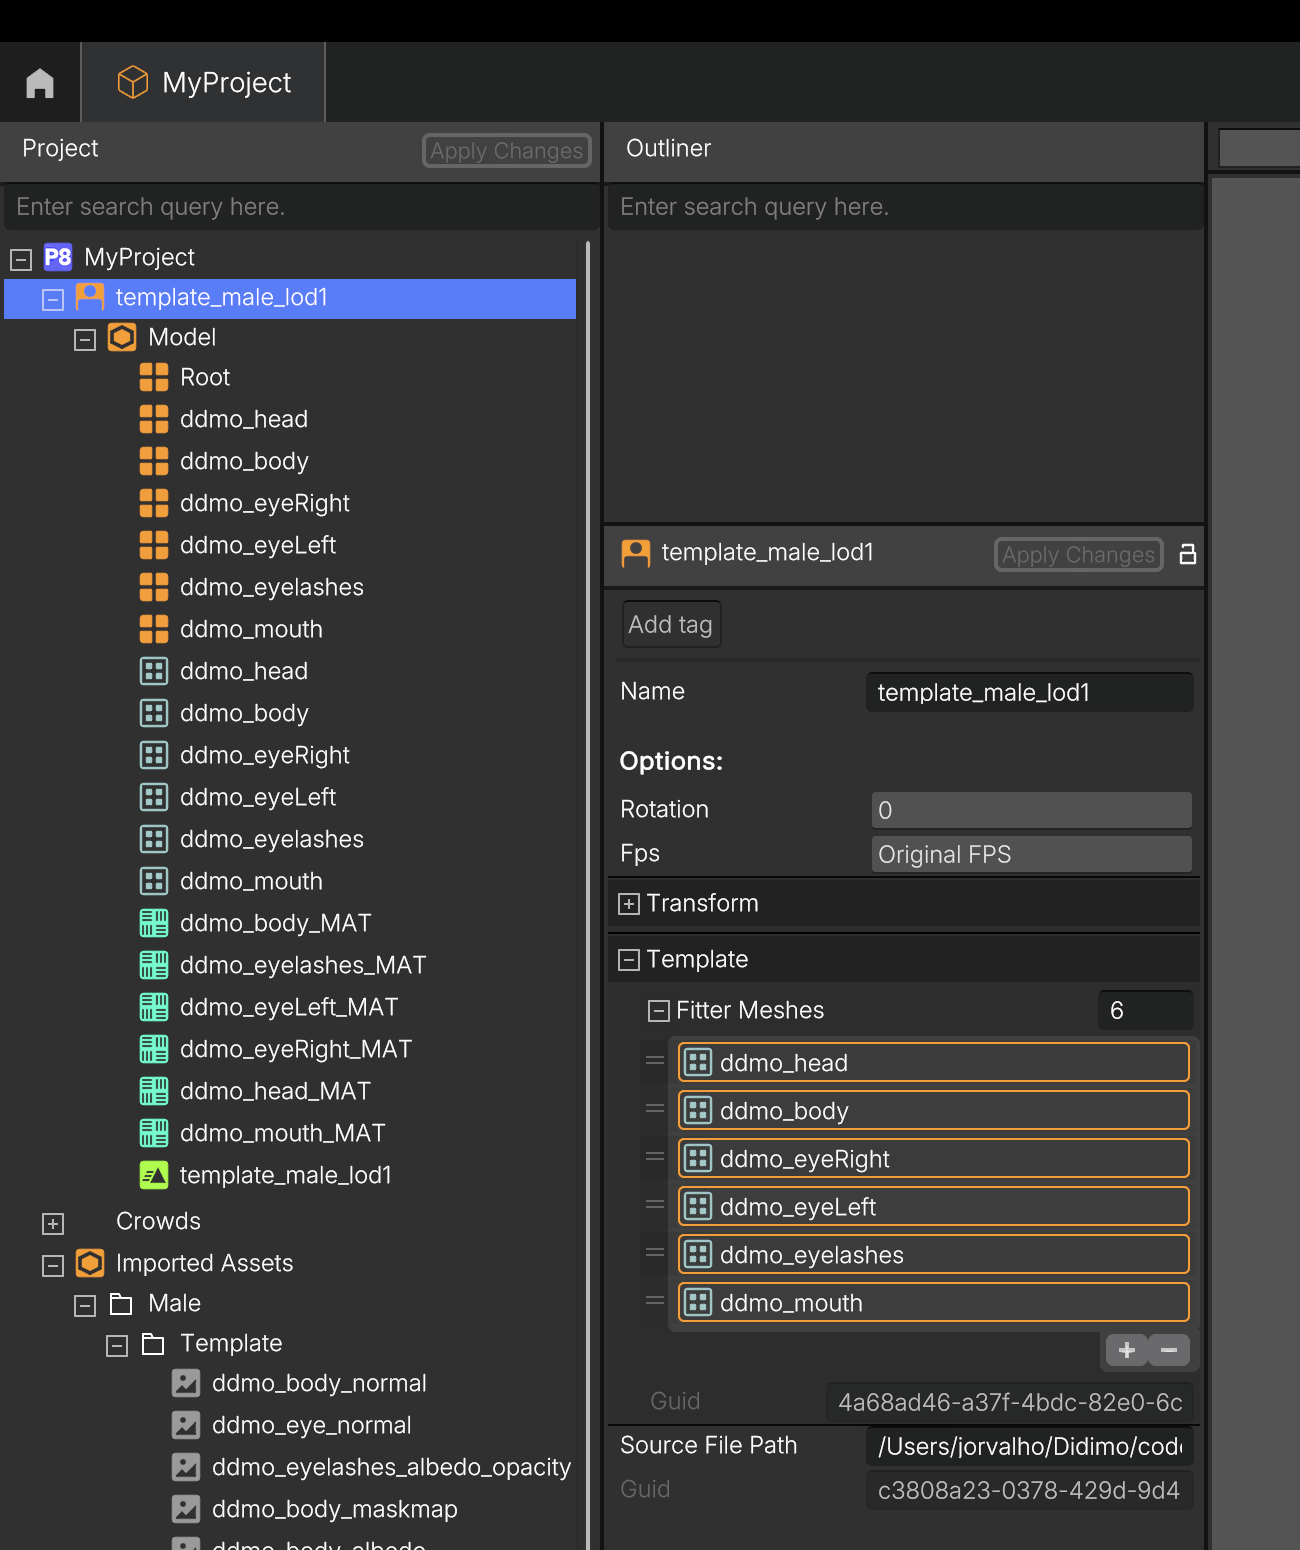
You now have a Template at the top of the tree view and are ready to Create Shape Variations
2. Create Shapes
Create Shape variations from scratch
To create shape variations from your Template using Popul8's Shape Editor, start by creating a manifold following the steps outlined in this guide. The manifold is an intermediary mesh that enables the Shape Editor to map supported head and body shape variations to your template.
Once the manifold is ready, import it into your project, then create a Shape Editor for your template by right-clicking on it and selecting Create → Shape Editor. You can then start designing shape variations! For more details, visit the Shape Editor documentation.
Import Shapes
Alternatively, you can Import your Shape Variations - Heavy, Thin, Muscular, etc.
Using the same steps as before for the Template:
- First import the Model into Popul8
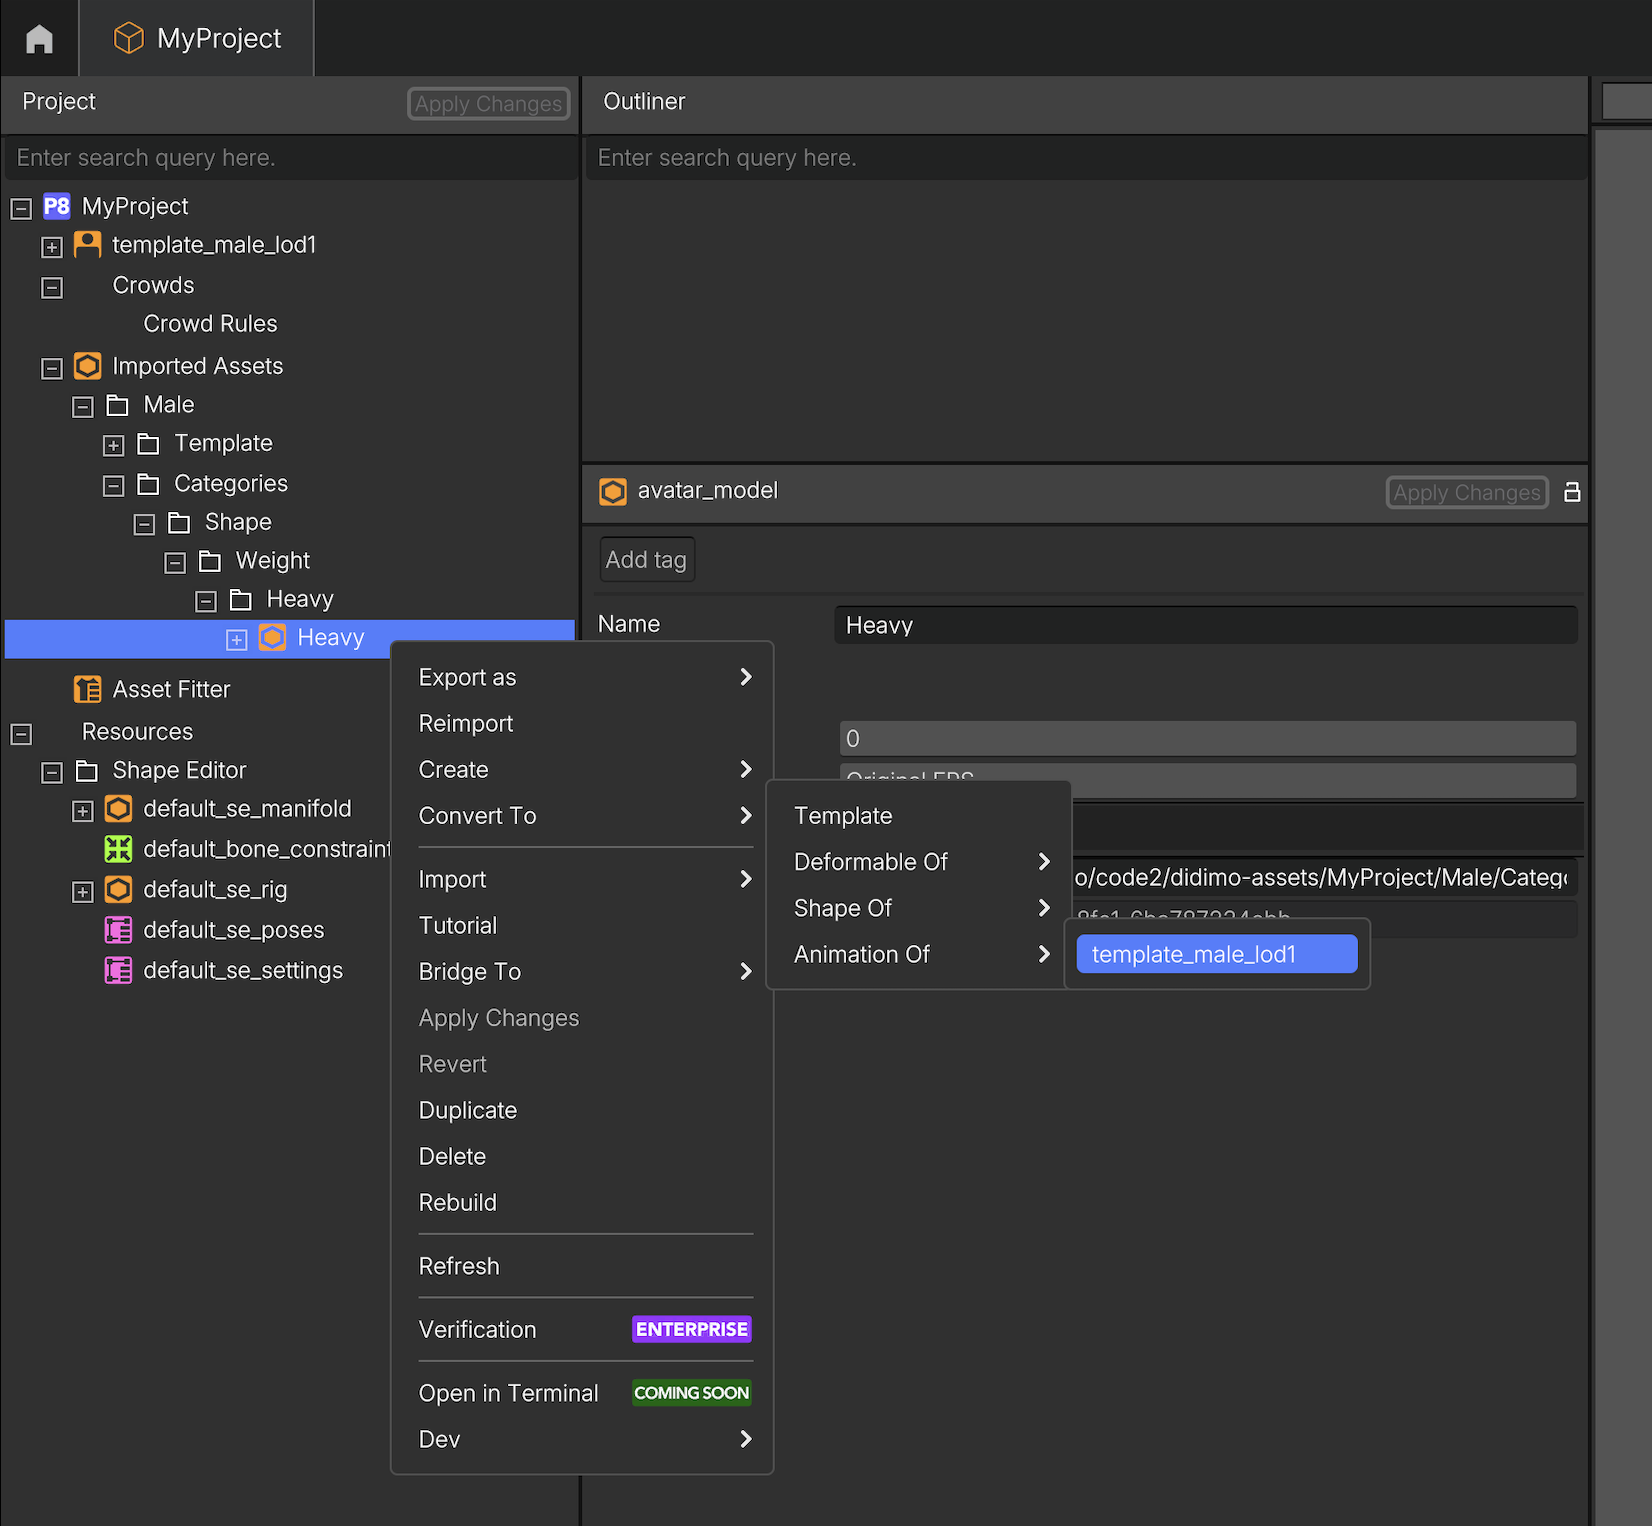
- Then, go to the Imported Assets folder and Convert the Model into a Shape of your Template
3. Import Deformables
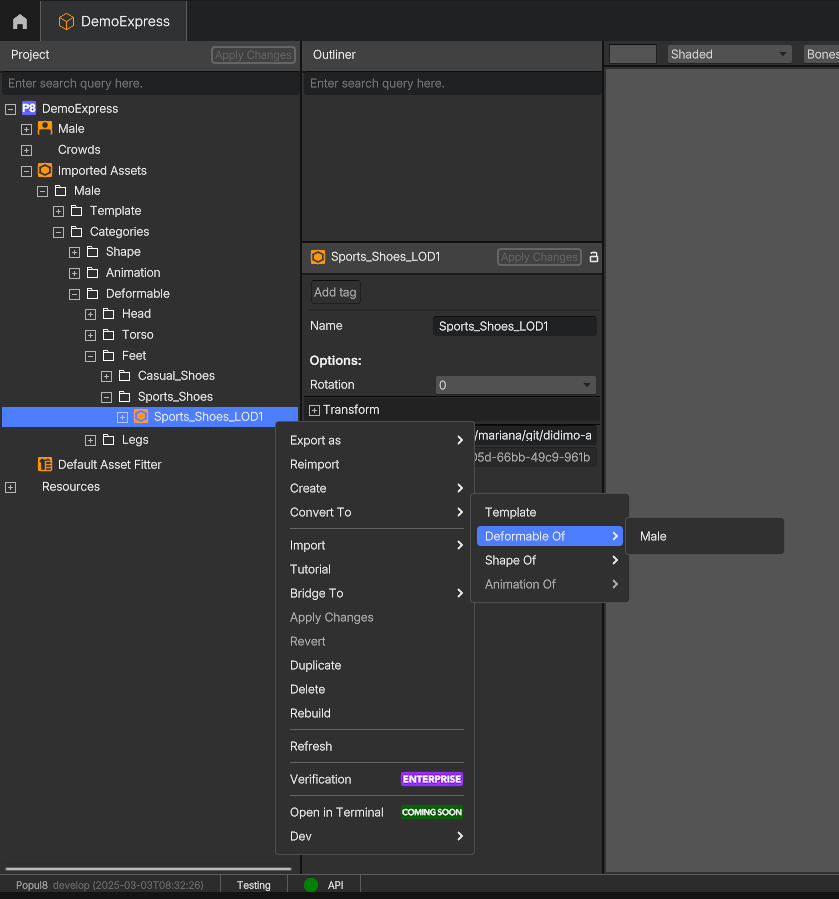
Import a Deformable by right-clicking anywhere on the Project tab, selecting Import → Files..., and selecting an FBX file of your choice. Once imported, your asset will appear under Imported Assets on the project tree. Browse the tree until you reach your asset, and set it as a Deformable of your Template by right-clicking on the model and selecting Convert To → Deformable Of.
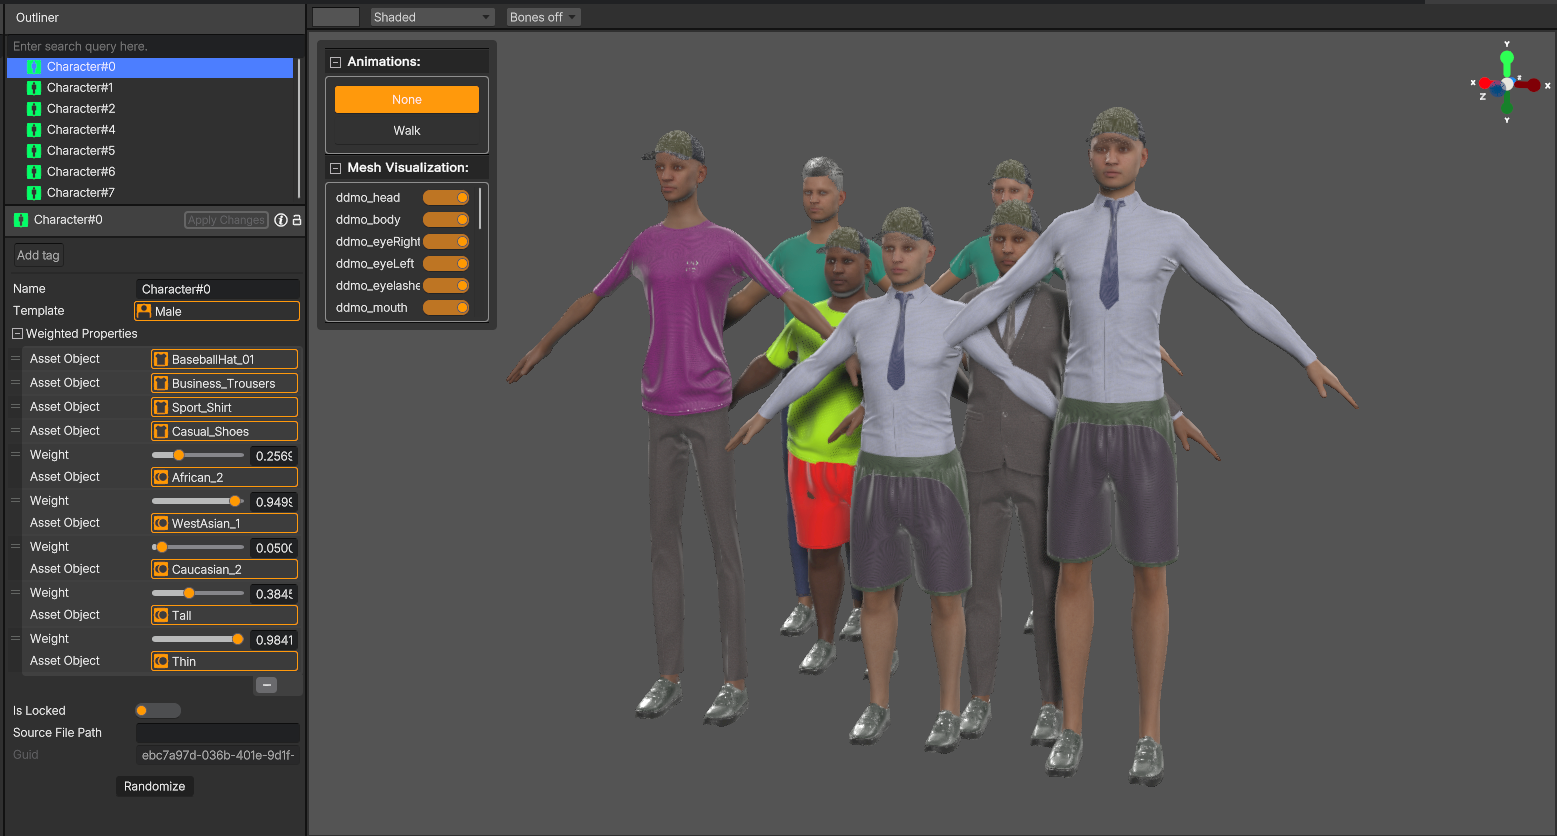
4. Create Crowds
Create a Crowd using your Shapes and imported Asset Catalogue. You can define rules to control how certain traits and Deformables are distributed among the characters in the crowd. Set specific ratios to ensure the desired diversity within the Crowd.
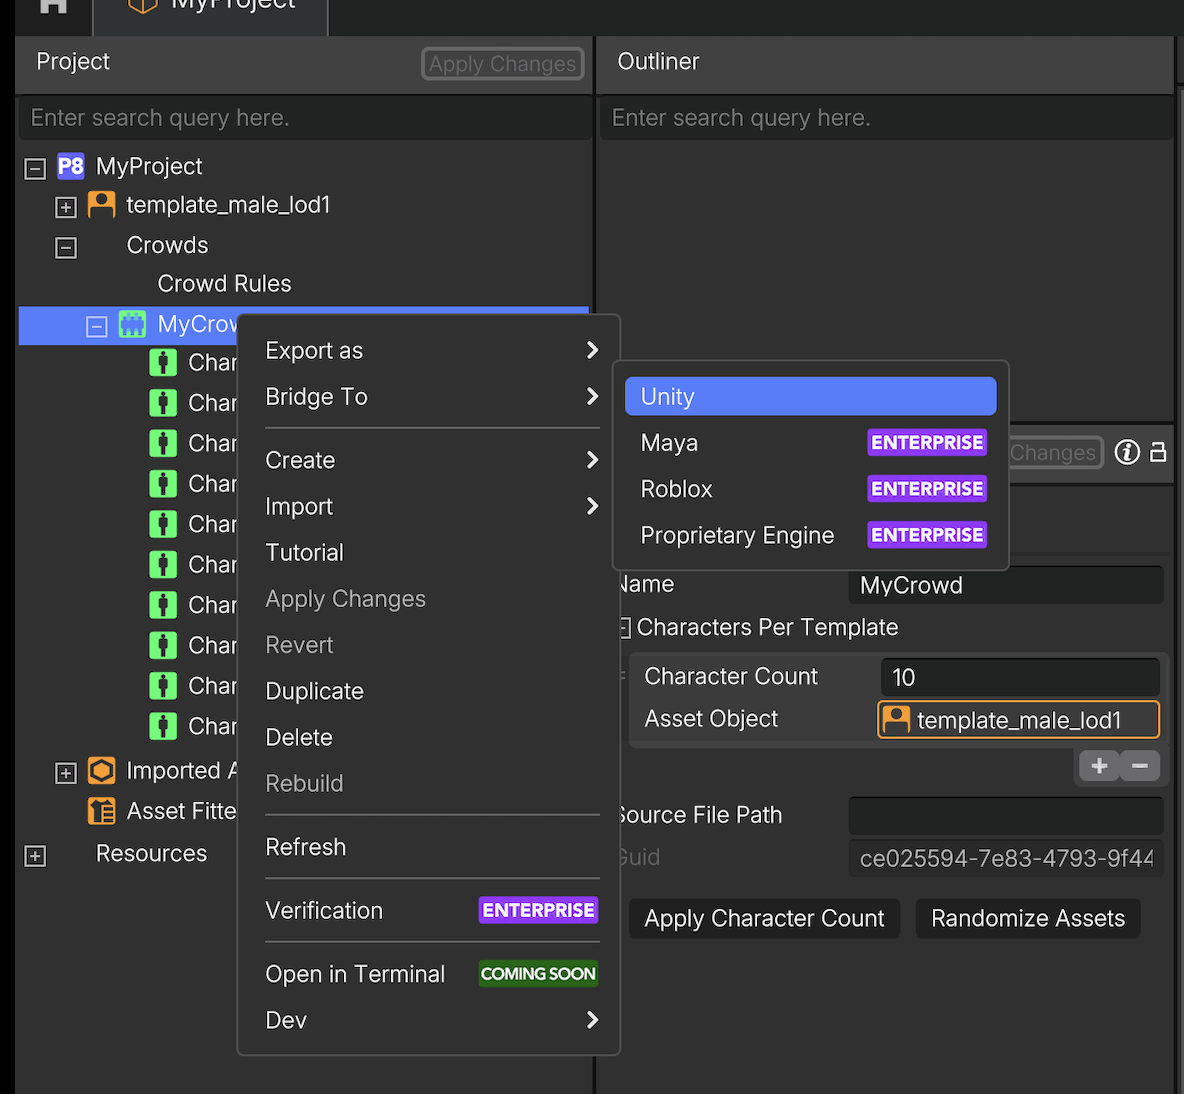
5. Bridge it to Unity or Unreal Engine
Easily export your crowds from Popul8 to your preferred game engine leveraging our bridges to Unity and Unreal.
Bridge it to Unity Engine
You have to first create a new Project in Unity (2022 LTS), using HDRP template.
Then go to Popul8 and on your Crowd, right click on it and select Bridge To → Unity... and selected the folder of your Unity project.
After the export has finished in Popul8, the process will continue automatically in Unity, installing all the dependencies and showing your first crowd.
Updated 8 months ago