Bridge to Unity
Quickly bring your characters and crowds from Popul8 into Unity engine
Exporting from Popul8
To export from Popul8 Express you have to right click on a created crow and select Bridge To > Unity.
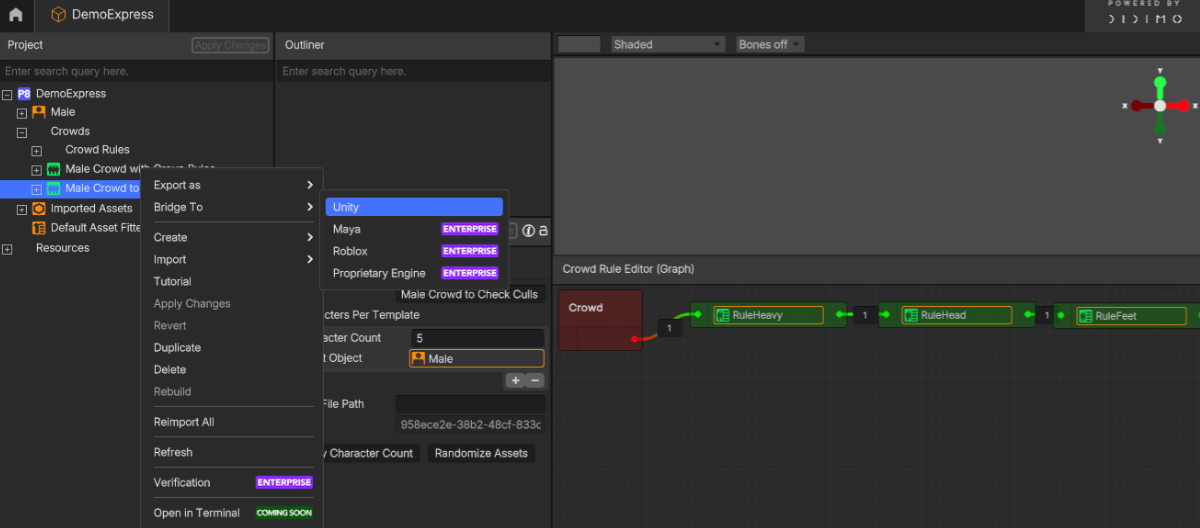
Popul8 Express will prompt you to choose between creating Instance Rendering for the characters inside the target Unity instance or generating singular prefabs that you can drag and drop into the scene.
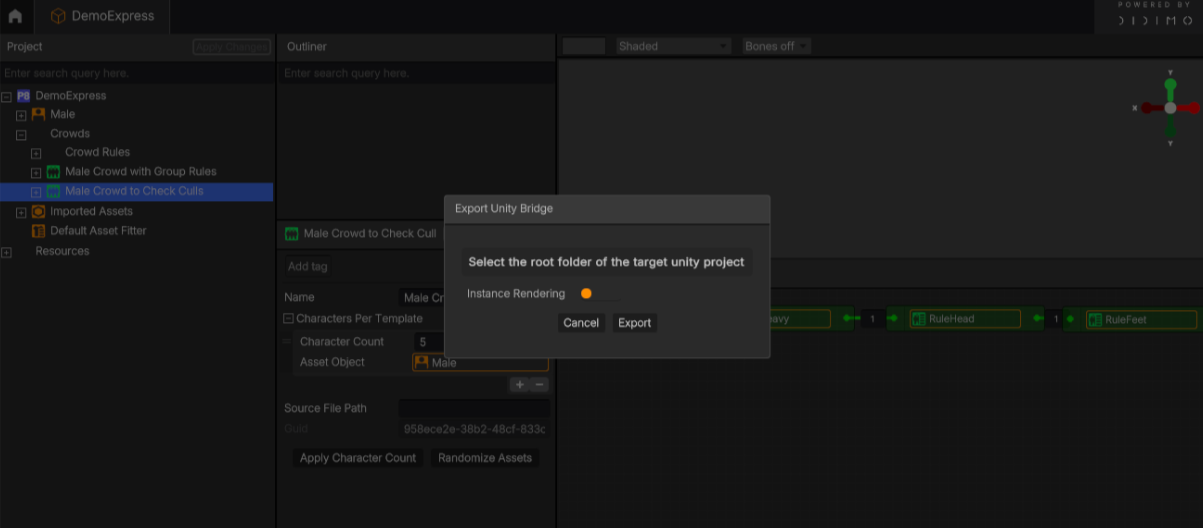
Tip: When you export your crowd from Popul8 to Unity, you have two ways to create the characters in your Unity project:
- Instance Rendering: This option tells Unity to use shared references (instances) of the same base model for all your characters, instead of creating hundreds of unique prefabs. This is much faster to render because Unity reuses the same geometry and materials in memory, just applying small differences (like blendshapes, skin tone, or textures) per instance. It’s ideal if you want to display large crowds efficiently where performance matters more than editing each character individually.
- Singular Prefabs: This option generates one separate prefab per character, each saved as an individual file.
This makes every character editable and independent, so you can easily customize poses, animations, or accessories afterward. The downside is that it uses much more memory and renders more slowly, especially for large crowds.
So, in short:
- Enable Instance Rendering for performance (shared geometry, faster, better for big crowds).
- Disable Instance Rendering for flexibility (fully editable, slower, better for small or unique groups).
After clicking Export, you will be prompted to select the root folder of the Unity project where you want to bridge the characters.

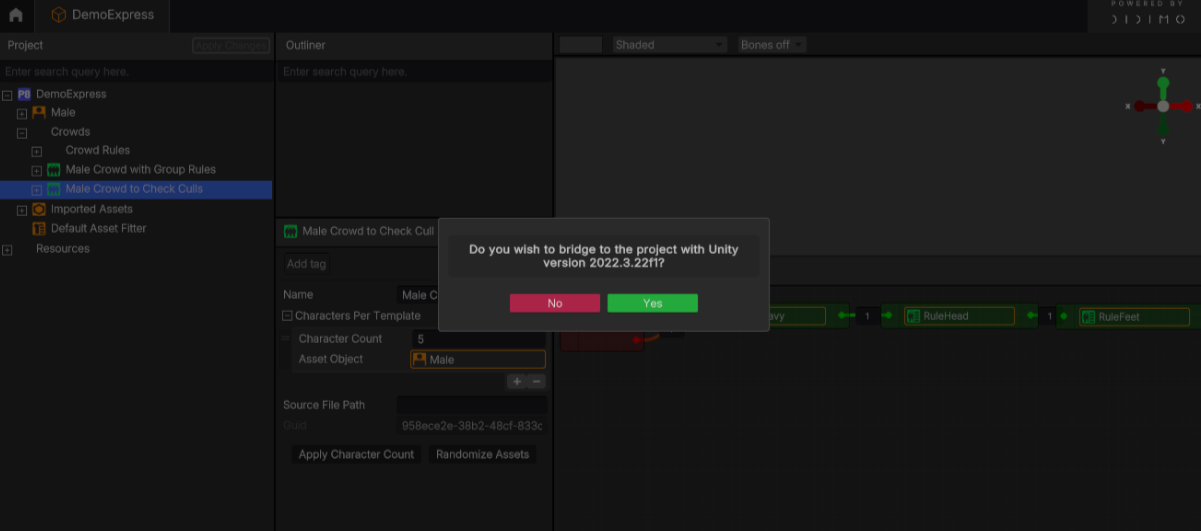
Confirm the target Unity version of the project. Once confirmed, select Yes, and the export process will begin.

Installing The Bridge
At the moment, we only support HDRP projects and Unity 2022 LTS versions.Make sure your project meets these conditions before running the bridge.
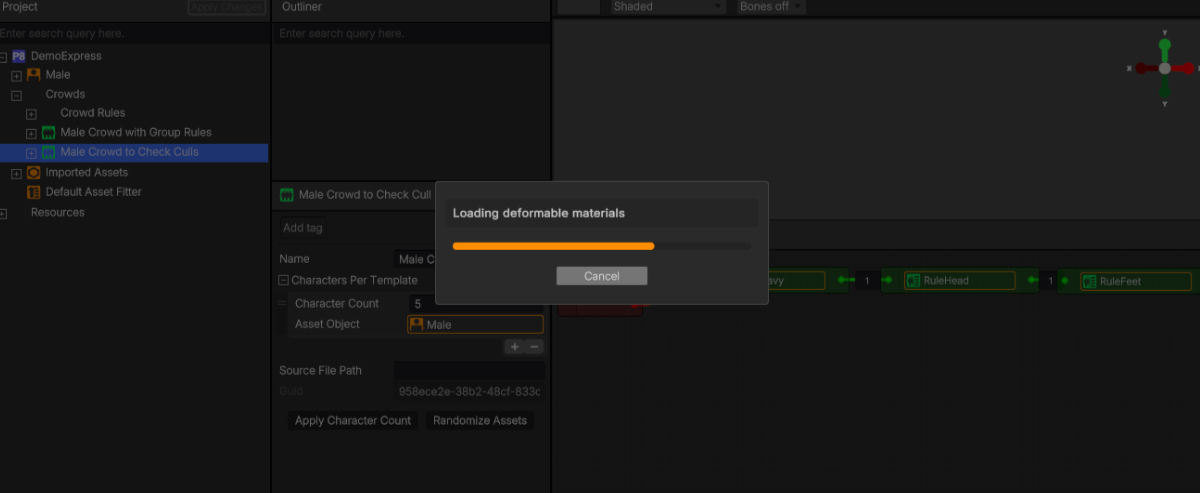
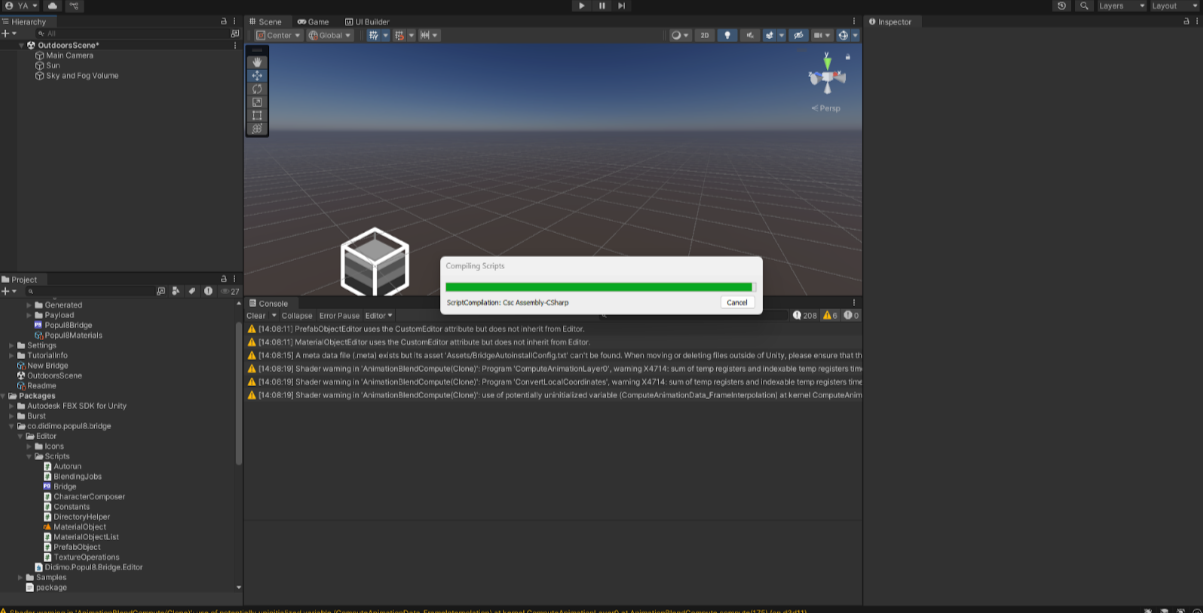
After the export process, switch to the Unity instance where you exported your project. The installation and execution of the bridge will begin automatically.
Running Instanced Rendering
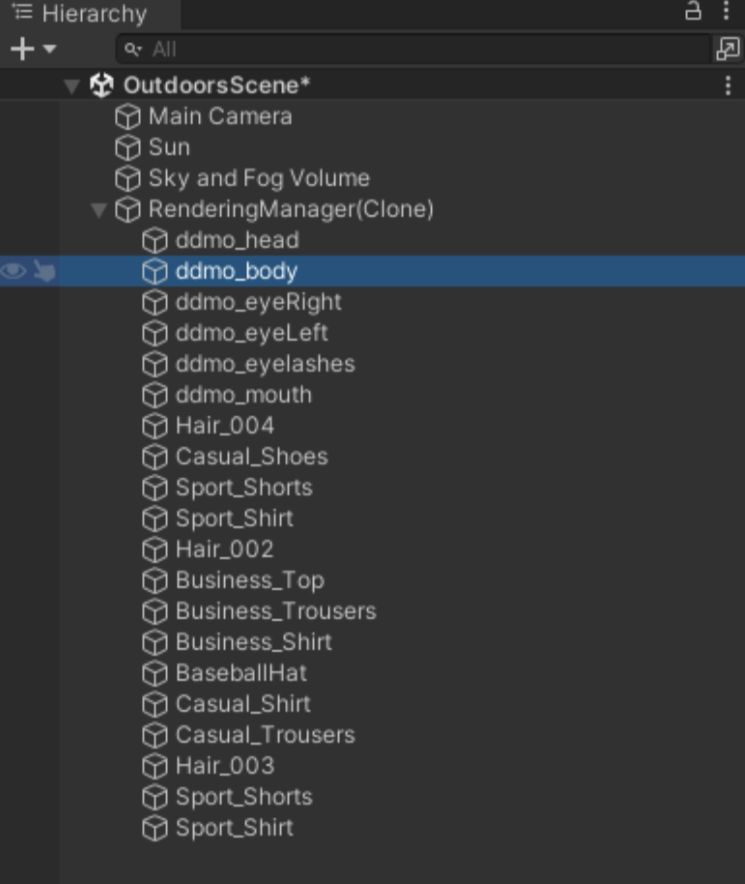
If you bridged your characters as instanced, then shortly after the bridge finishes installing, you will see your characters in the scene.
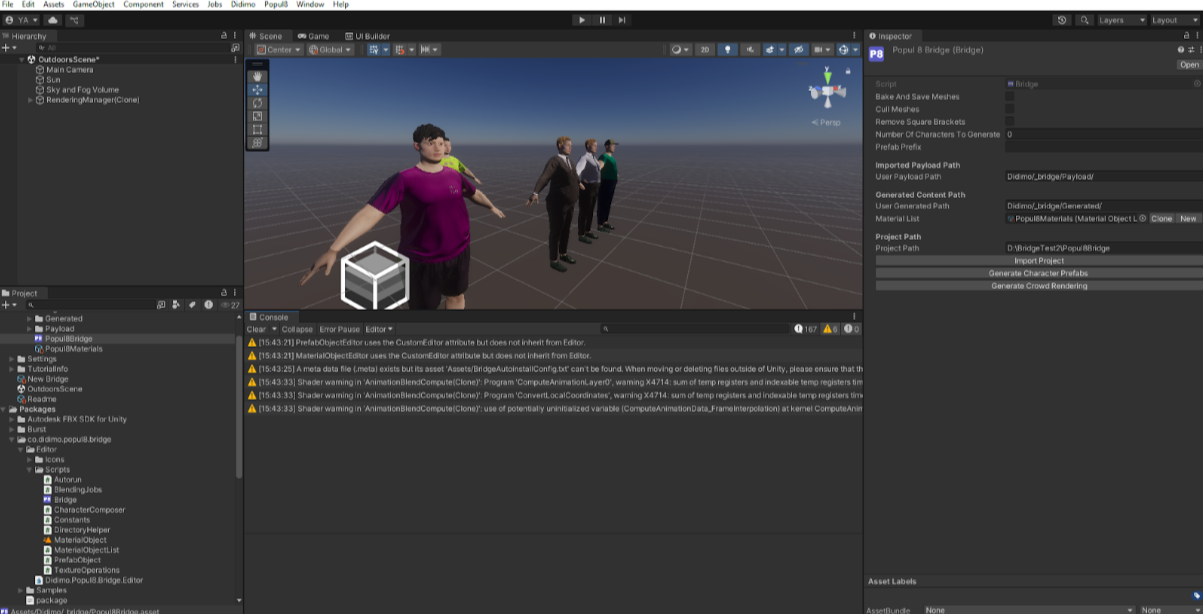
In this mode, you can run animations on each character.
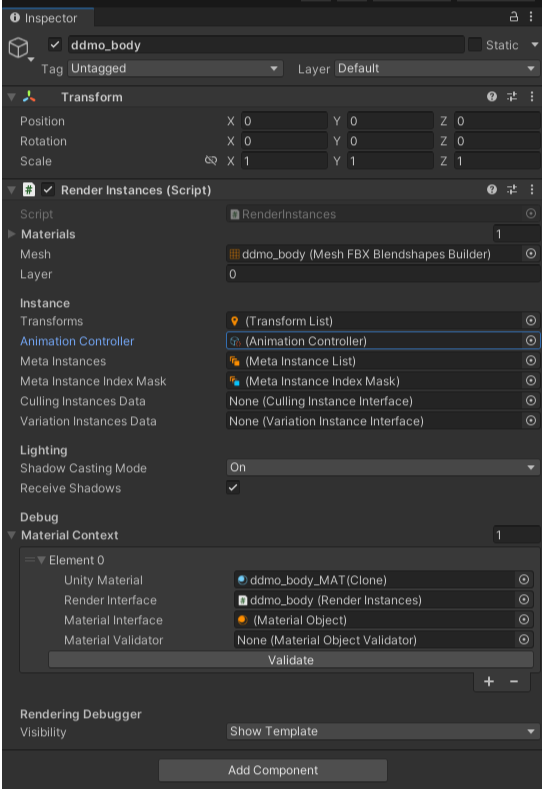
- Simply go to the Rendering Manager and select the object you want to animate.
- In the Inspector, double-click on the Animation Controller.
- Double click in one of the elements inside the Animation Objects .
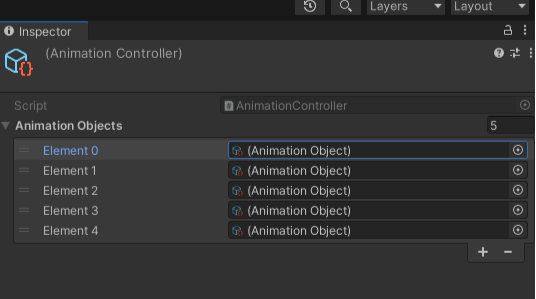
- Finally, enter the name of the animation you want to play in the selected Layer.
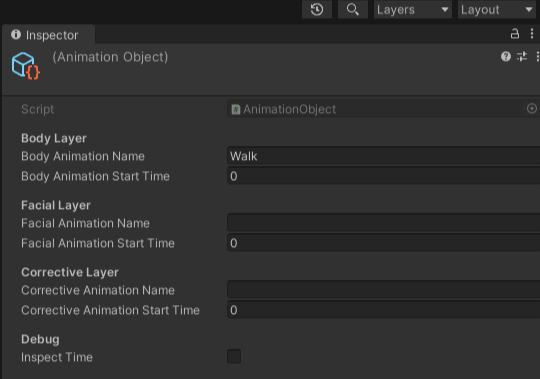
You will see your character come to life with the animation.
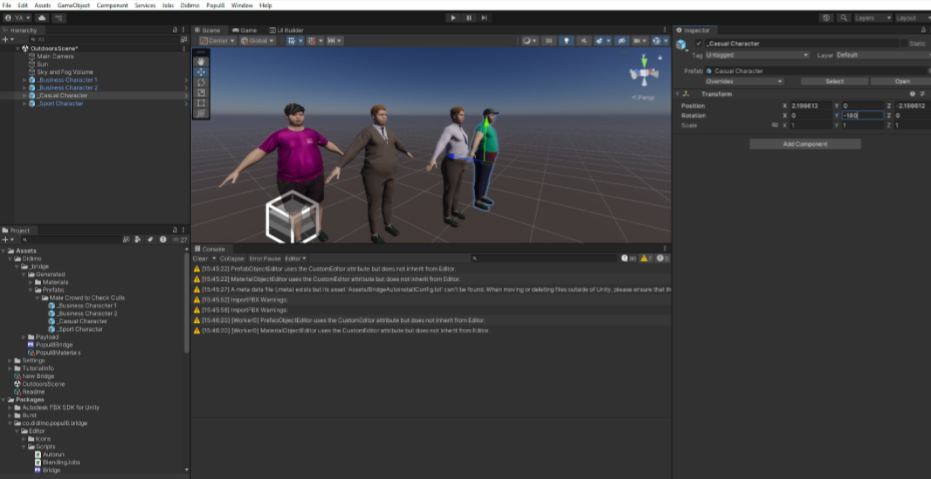
Running with Individual Prefabs
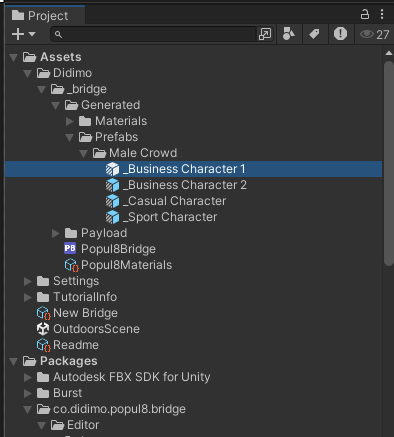
If you bridged your characters without the instance rendering option enabled, then shortly after the bridge is installed, you will find your prefabs in your project’s Assets folder under Didimo/_bridge/Generated/Prefabs.
Drag and drop the prefabs into the scene, and you will see your characters.
Updated 9 months ago