Importing Your Base Character (Template)
If you want to work with a custom 3D character created in another program (e.g., Blender, Maya), you can easily import your Base Character into Popul8 Express as a Template.
This allows you to generate character variants and add clothing, animations, and other assets.
🎬 Check our Tutorial Video:
1. Get to Know the Project Structure
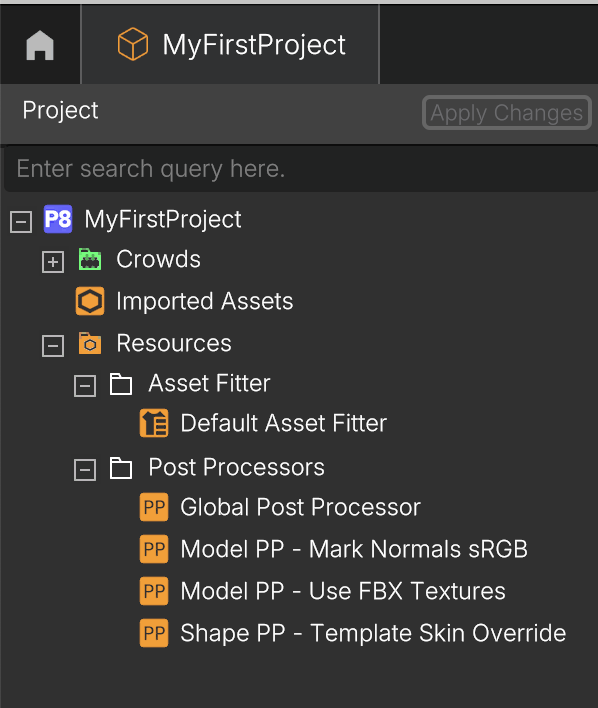
In the left panel (Project Panel), expand the tree of your active project and Resources
- The Imported Assets folder will contain the files you import
- The Resources folder contains internal files and configurations selected by Didimo, which can be used during the configuration of your project
2. Import your Model
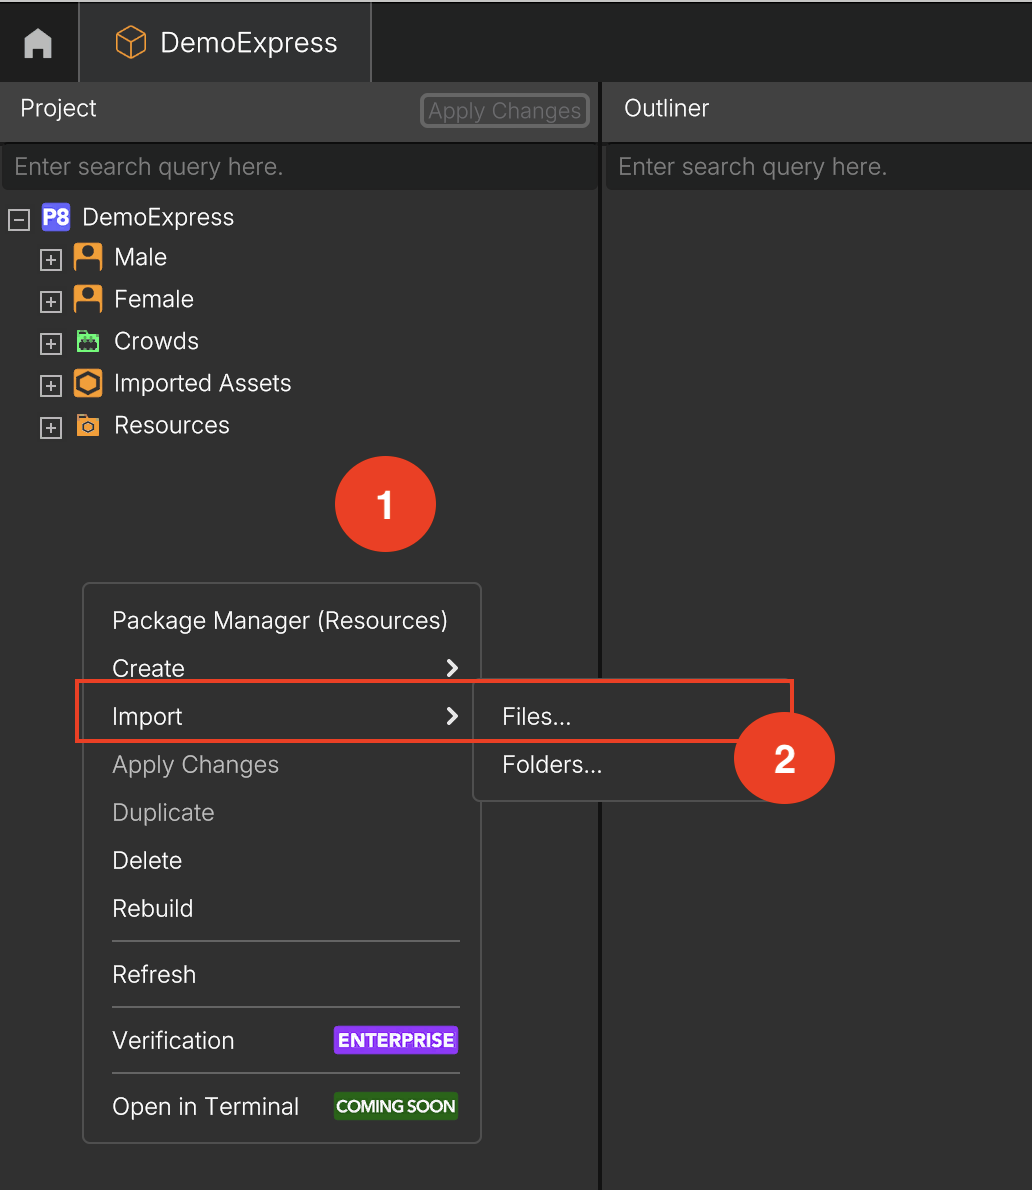
In the Project Panel, right-click in an empty area.
- Import → File, to import one or more files.
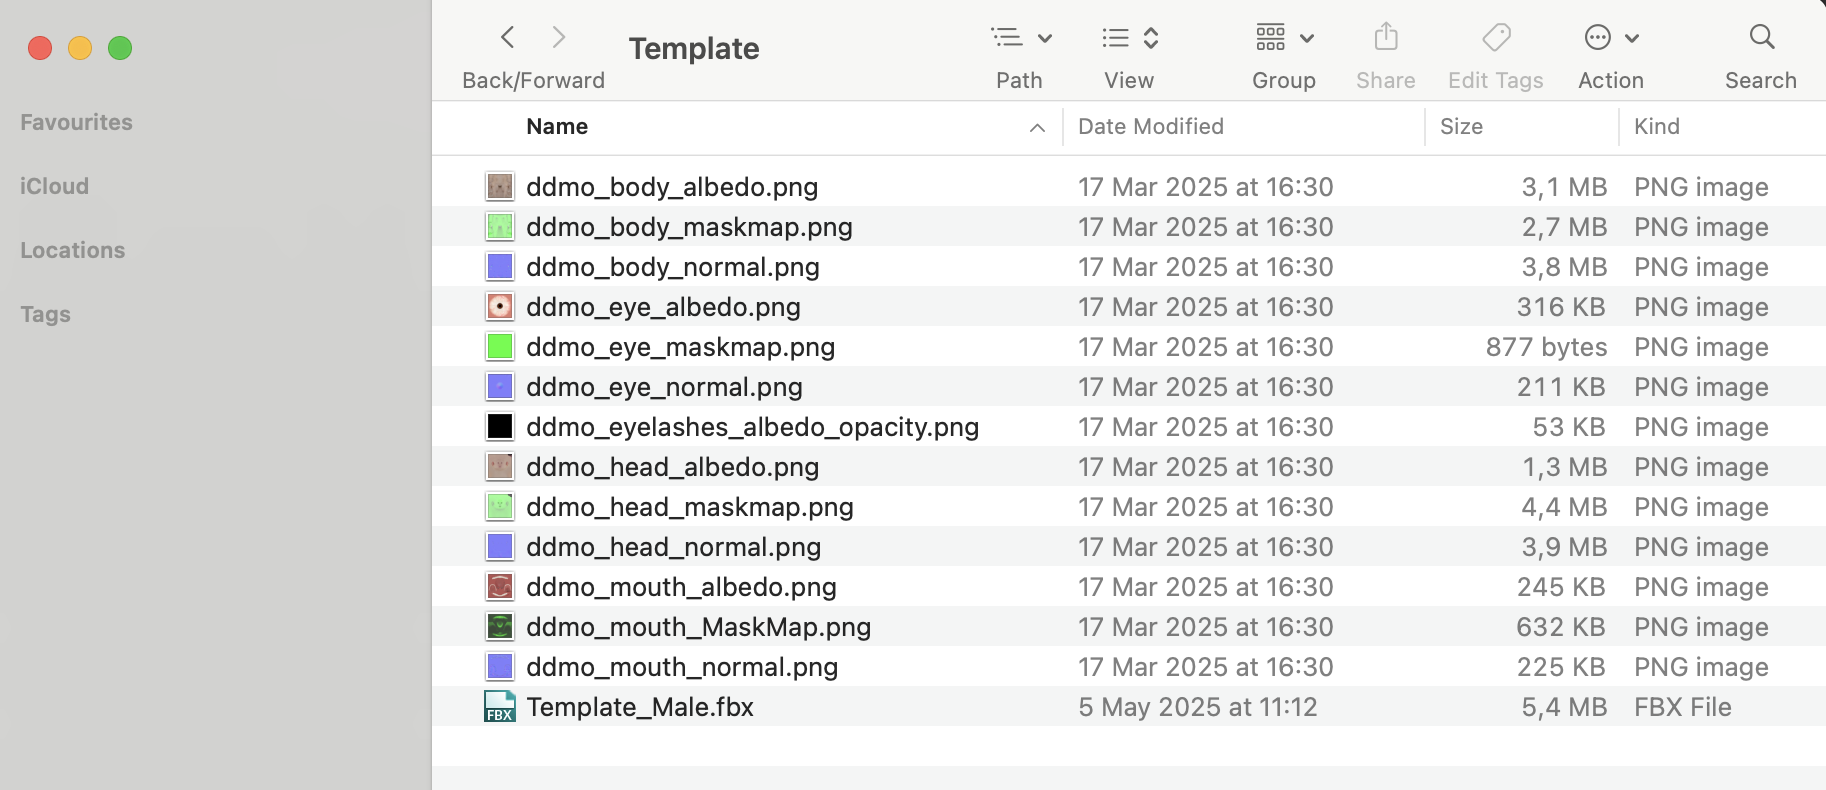
- Locate the folder where you exported your model.
- While importing, you’ll see a status message: Importing Assets, this only takes a moment.
Once complete, the model and all related assets will appear under the Imported Assets folder
3. Use Outliner to Preview the Imported Model
After import, expand your project’s tree and look for your model under: Imported Assets → Template
- Use drag & drop to move the model from the asset tree into the Outliner Panel.
- Preview the model: You’ll now see a visual preview of the imported model in the Render Panel.
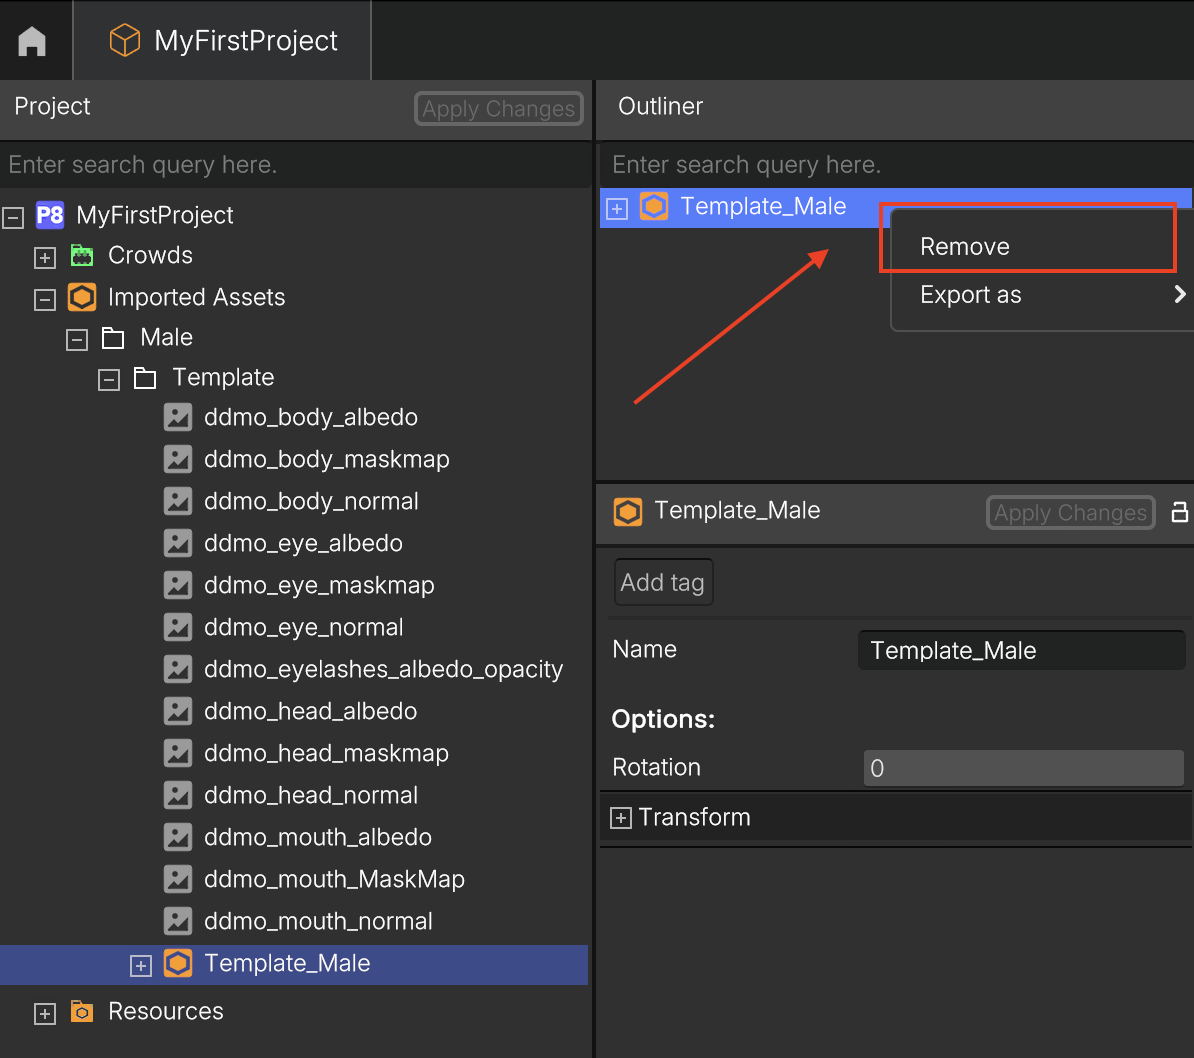
- Remove from Outliner Panel: Next, right-click the model’s name in the Outliner and select Remove or Clear button in the top right corner, this clears the preview before converting the model to a Template.
4. Convert the Model to a Template
This is a critical step, it tells Popul8 to treat the model as a Template (a base character), not just a generic asset.
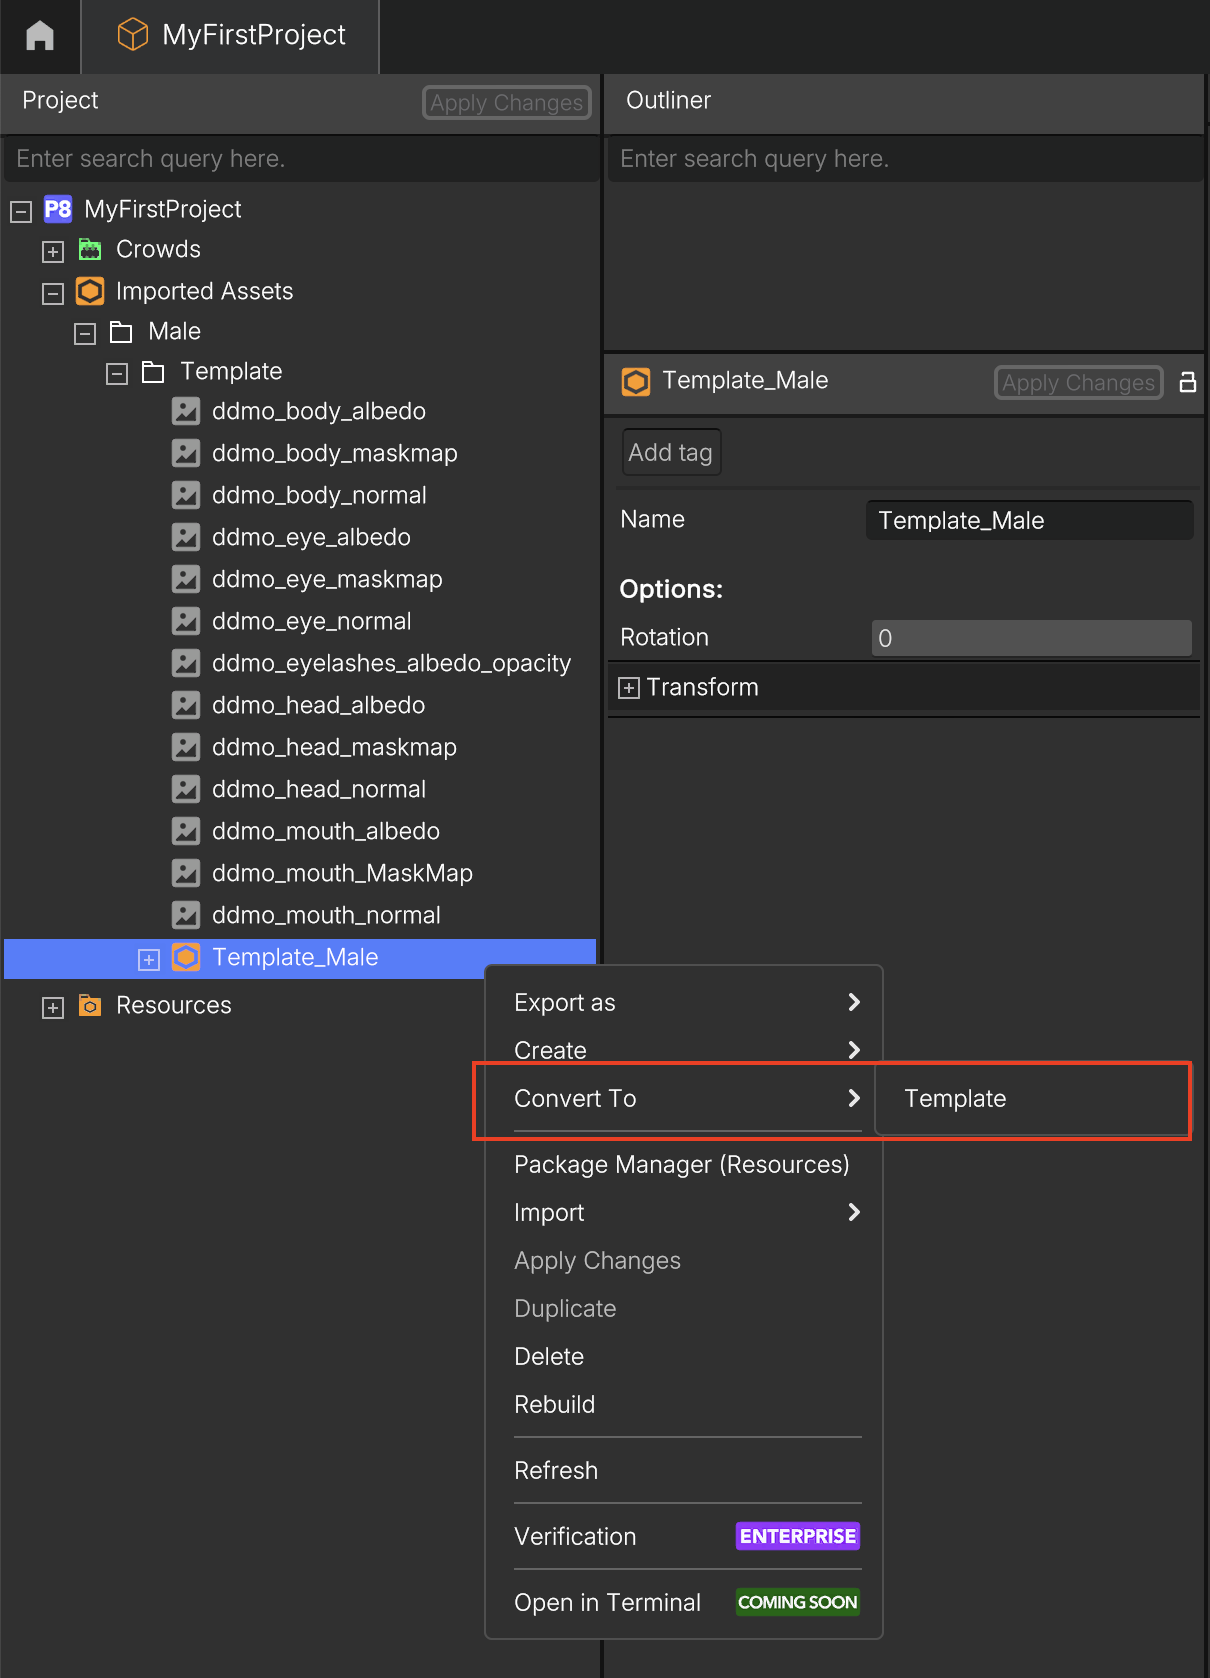
- In the asset tree, right-click the renamed object (e.g., Male) and select: Convert To → Template
- A Building Assets window may appear, this will take a few seconds.
5. Preview the new Template in the Outliner
- From the list of available Templates in the project tree, drag your newly created Template (e.g., Male) back into the Outliner.
- Again, A Building Assets window may appear.
6. Check the Template structure
Once loaded, expand the model’s branch in the asset tree (left panel). Popul8 Express has automatically generated the correct internal structure, ready for editing.
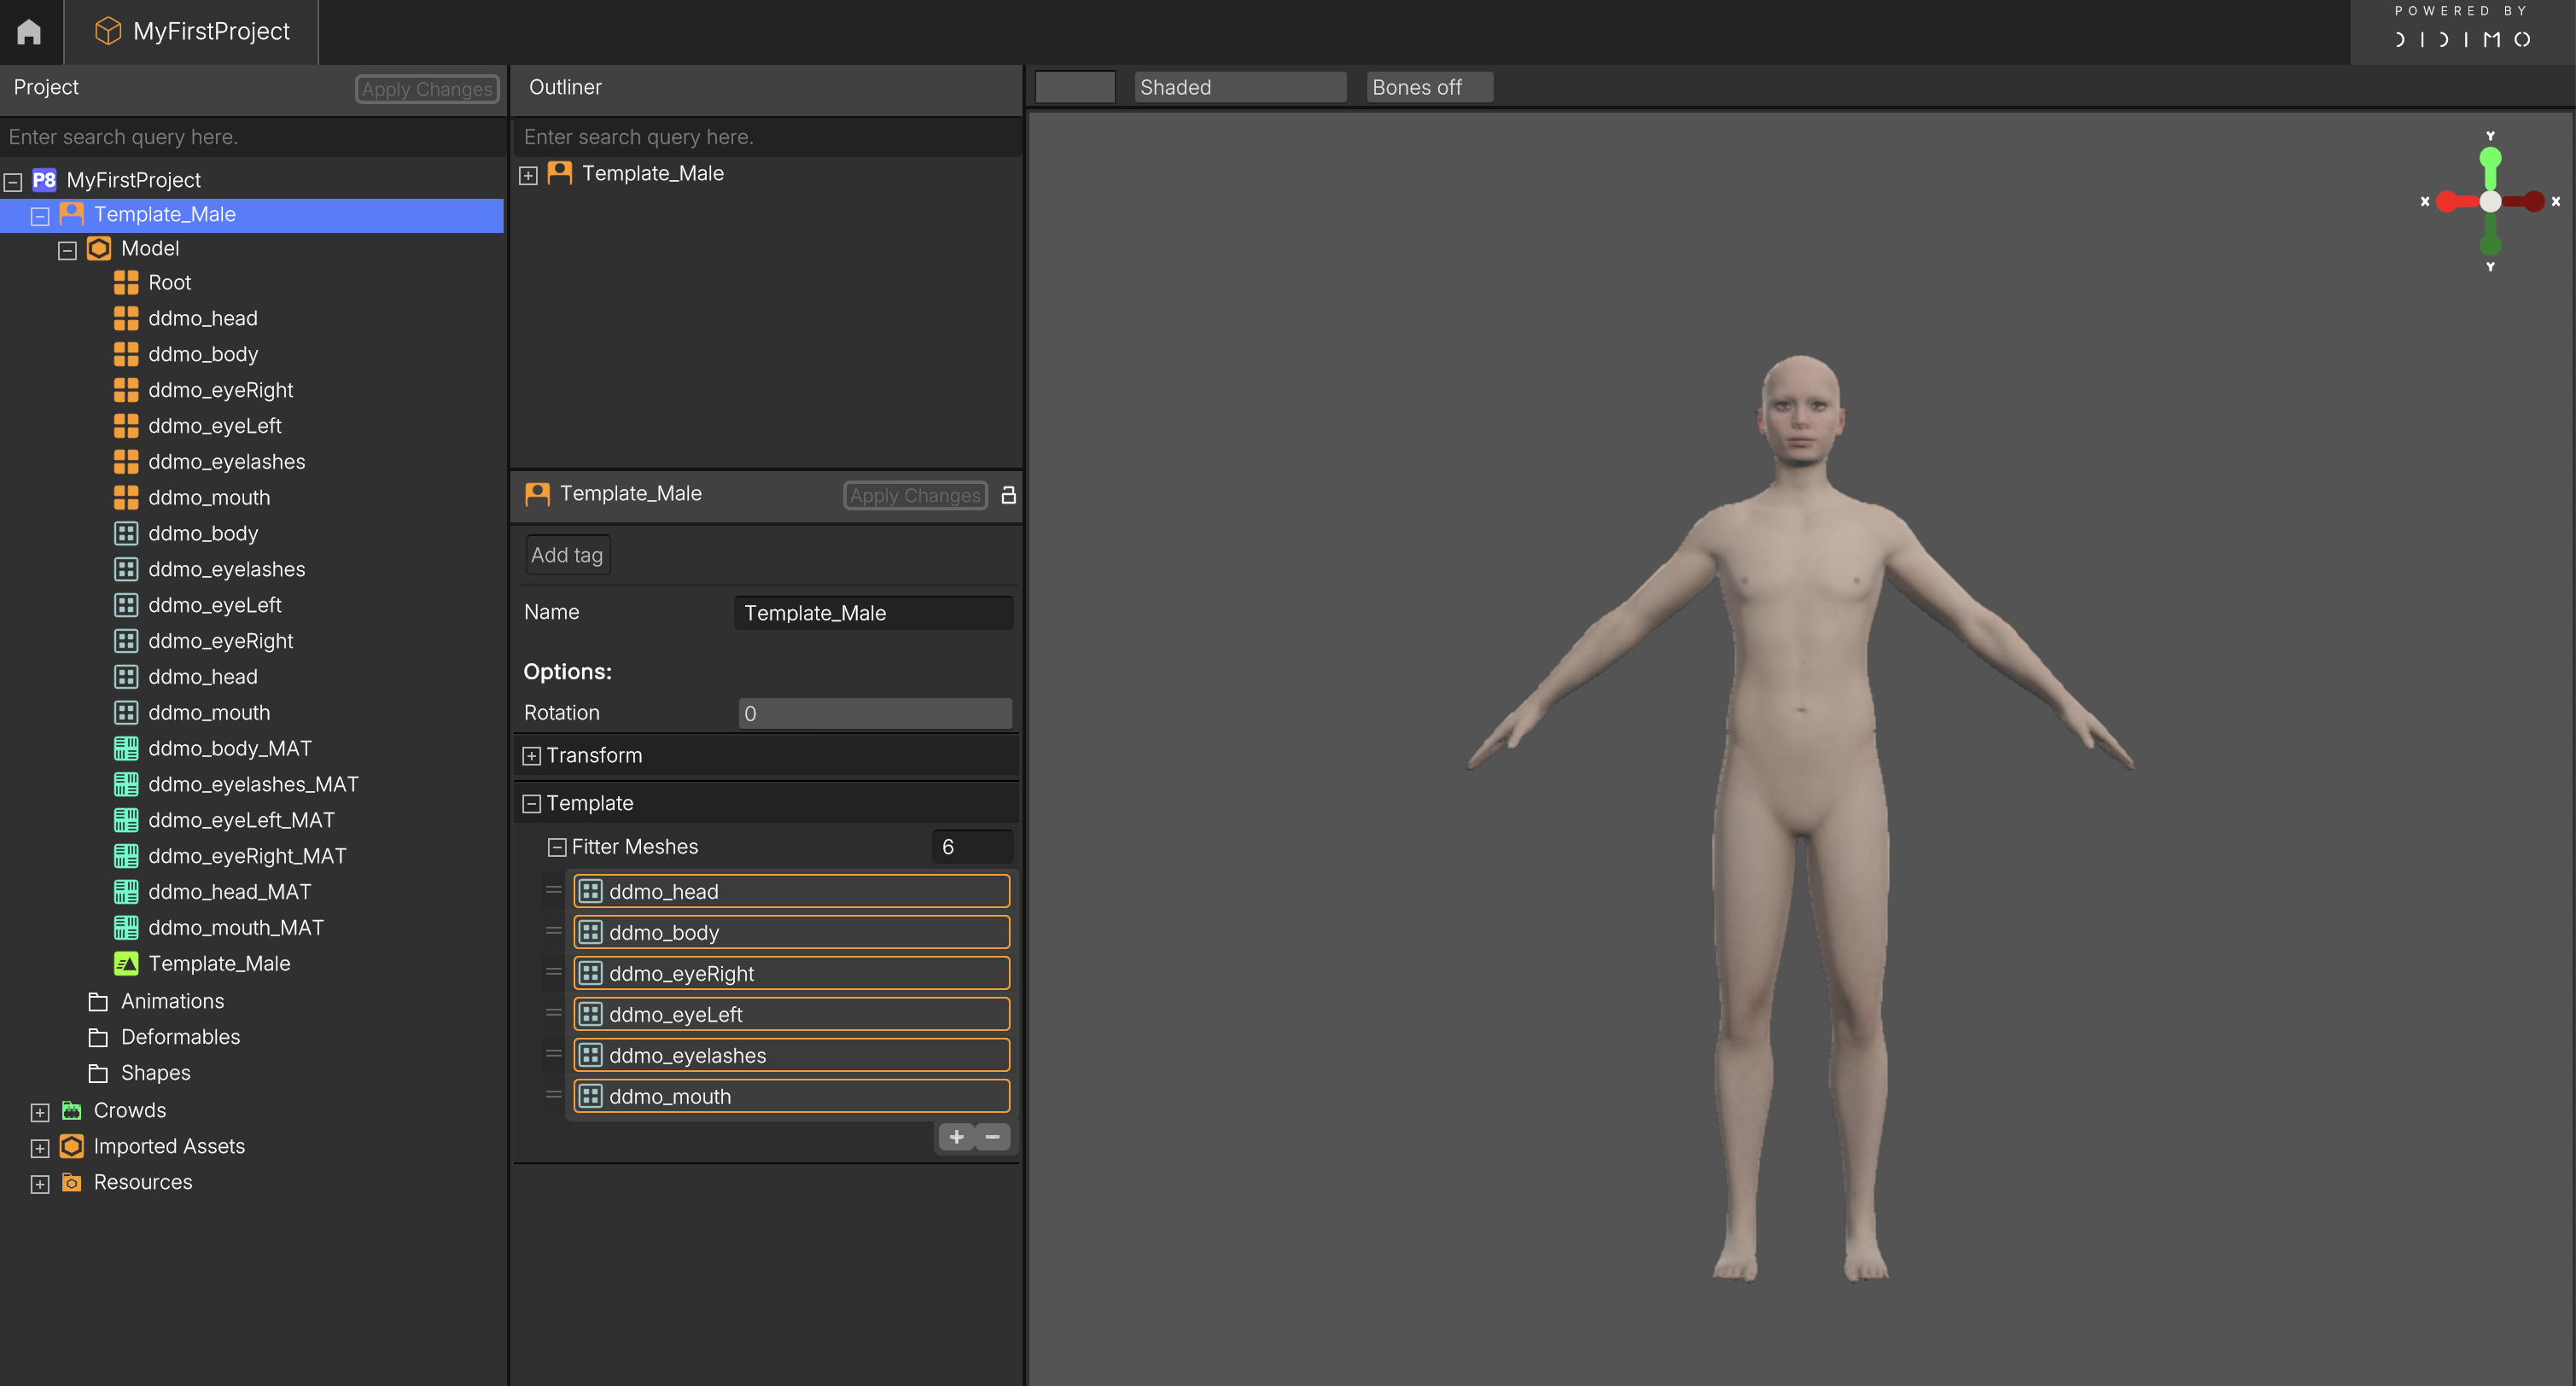
✅ Done!
Your Template is ready to go, you can now start creating Shapes, adding Deformables, and assigning Animations.
Updated 9 months ago