Quick Start Guide
Unreal Didimo Plugin installation and First Steps to experience a didimo
Unreal Didimo Plugin Download and Installation (for C++ projects)
- You will need the Windows SDK installed to have a C++ project.
- You also need Microsoft .NET Core 3.1 Runtime.
- Make sure Visual Studio is installed correctly for Unreal Engine support.
- Please download the Didimo Plugin from Unreal Marketplace, follow instructions and jump to step 11.
- Alternatively, please download the Didimo Unreal Plugin from our Servers.
- Start Unreal Engine.
- If you don't have a C++ project, create one, open it, and save it.
- Exit Unreal Engine.
- In the File Explorer, navigate to [PROJECT_NAME][PROJECT_NAME]/Plugins folder.
- If there is no Plugins folder, create it yourself.
- Extract the ZIP file contents into the Plugins folder.
- You now have a new folder called DidimoPlugin, please start Unreal Engine and open the project.
- A popup may appear notifying you that a new plugin was added.
- Select Edit -> Plugins.
- Find the DidimoPlugin plugin and check the Enabled option.
- Restart Unreal Engine.
- In the Content Browser, click on Settings. Confirm that Show Plugin Content and Show Engine Content are both checked.
- In the Content Browser, check if you can find the DidimoPlugin plugin in Plugins.
- Check out the DemoScene to experience a test didimo on a prepared Unreal Engine scene.
Import a didimo
- After generating your didimo, make sure it is in FBX format, in order to be correctly imported into Unreal.
- Open the didimo package you downloaded and drag and drop the .fbx file in Unreal's Content Browser.
- The FBX import will begin and a window will pop up with the FBX import settings.
- Under "Mesh", make sure you select the respective Female / MaleDidimoUnrealSkeleton, to import the didimo with the correct skeleton.
- If your didimo has animations built in that you want to experience in Unreal, make sure you check the "Import Animations" box under "Animation".
- Click "Import All" and the didimo will be added into the folder you chose. It includes Textures and Materials folder, the Skeletal Mesh asset, Physics Asset and the Didimo Character Blueprint.
Play animations on a didimo
Facial ARKit Animations
- Go into [PROJECT_NAME][PROJECT_NAME]/Plugins/DidimoPlugin/Assets location, inside your project folder, using the File Explorer.

- This is the file that will be used to play animation. See our ARKit documentation for more information.
- Place the Didimo Character Blueprint in a scene and press the play button.
Body Animations
- After importing the didimo, you can see that an Animation Sequence was added. Open it up and click on the Animation Blueprint icon.

Animation Blueprint button highlighted
- Zoom in on the graph and find the Female / MaleIdle node.
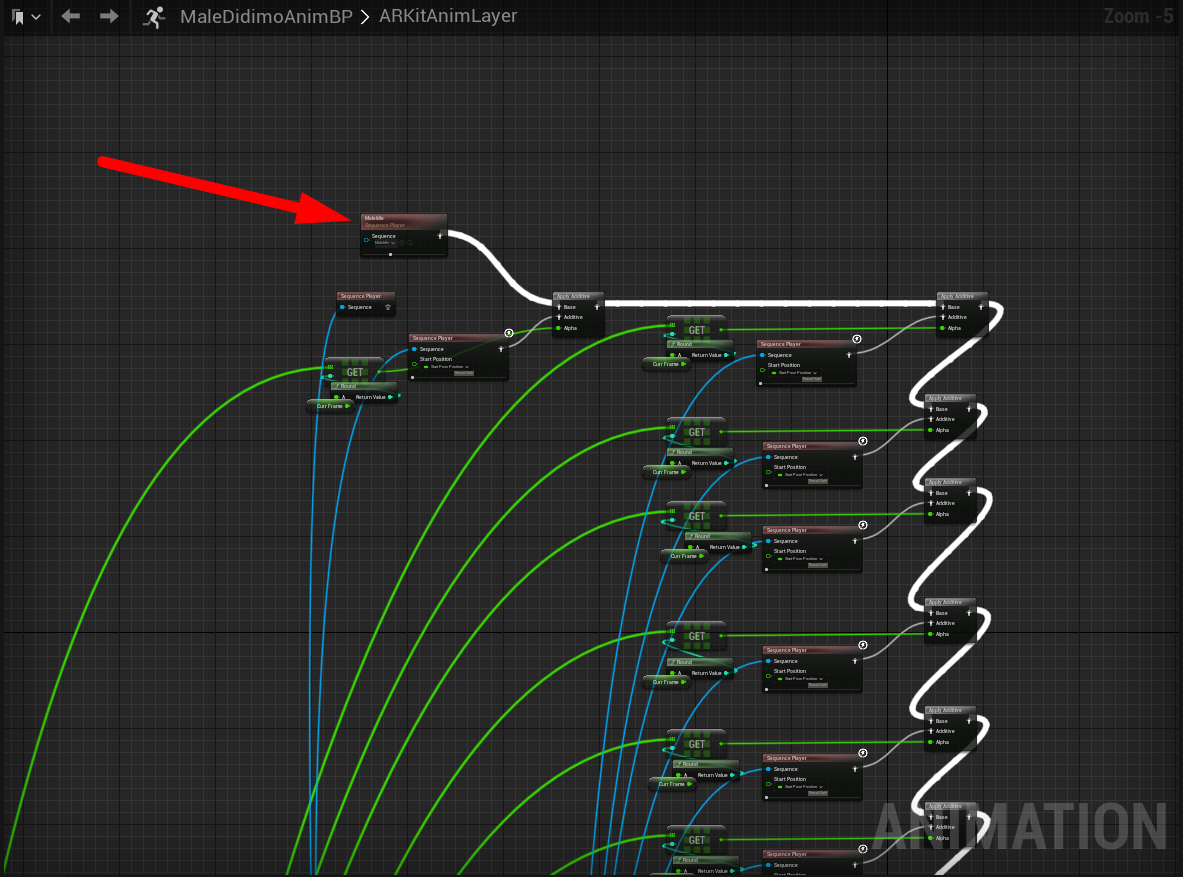
Body Idle Animation node
- It currently has an idle animation, but you can choose an FBX animation of your choice, as long as it's made for the Didimo Skeleton. You can use Mixamo animations, for example.
- Save everything and place the Didimo Character Blueprint in a scene and press the Play button.
Updated 11 months ago