VR Showcase and Integration
The Didimo VR Showcase is an Oculus Quest 2 interactive application that provides an overview experience of Didimo technology and various integrated features in a virtual reality environment. Through a variety of scenes, the user can take advantage of the Oculus Quest 2 capabilities to interact with didimos in distinct ways and understand the scope of uses a Didimo digital human can have in this environment.
Integrating Didimo's realistic digital humans, generated in real-time from a selfie, within a Virtual Reality device like the Oculus Quest, is a breakthrough experience. Didimo's goal is to bring human interaction into virtual world communication, and VR solutions are a key element of that plan as more users adopt this technology.
Our VR Showcase App
A didimo is ready at runtime and can be animated in various ways, using technologies such as Apple's ARKit, Oculus tracking or Amazon Polly's Text-To-Speech. These capabilities provide incredible opportunities for companies to empower their audiences to use lifelike, animated digital humans, using easily accessible solutions available to everyone. Oculus Quest integration gives companies yet another way of communication, using didimos in a virtual reality setting.

The Didimo VR Showcase app gives everyone the opportunity of experimenting and having a first-hand interaction with various didimos in the context of VR/XR.
To get started, the user should visit the Oculus App Lab and download the application for a compiled, ready-to-use interaction.
In addition, you can find the source code in Github.
Our Scenes

Main Menu
When first entering the Didimo VR Showcase, you will be presented with a Menu to access all the different samples and examples of what can be done using didimos in VR.
Using your virtual hands, point to the desired scene you want to access, and you will notice a purple pointer to help you properly aim to the correct button. This feature was implemented using Unity’s Line Renderer component, as well as Oculus’ Input Module.
For the Meeting Example scene, a colored indicator on the corner of the button is used to show the state of the server and when it is possible to meet over the network. If the connection is not achievable, the indicator will show red, and you will be placed in an offline room when pressing the Meeting Example button.

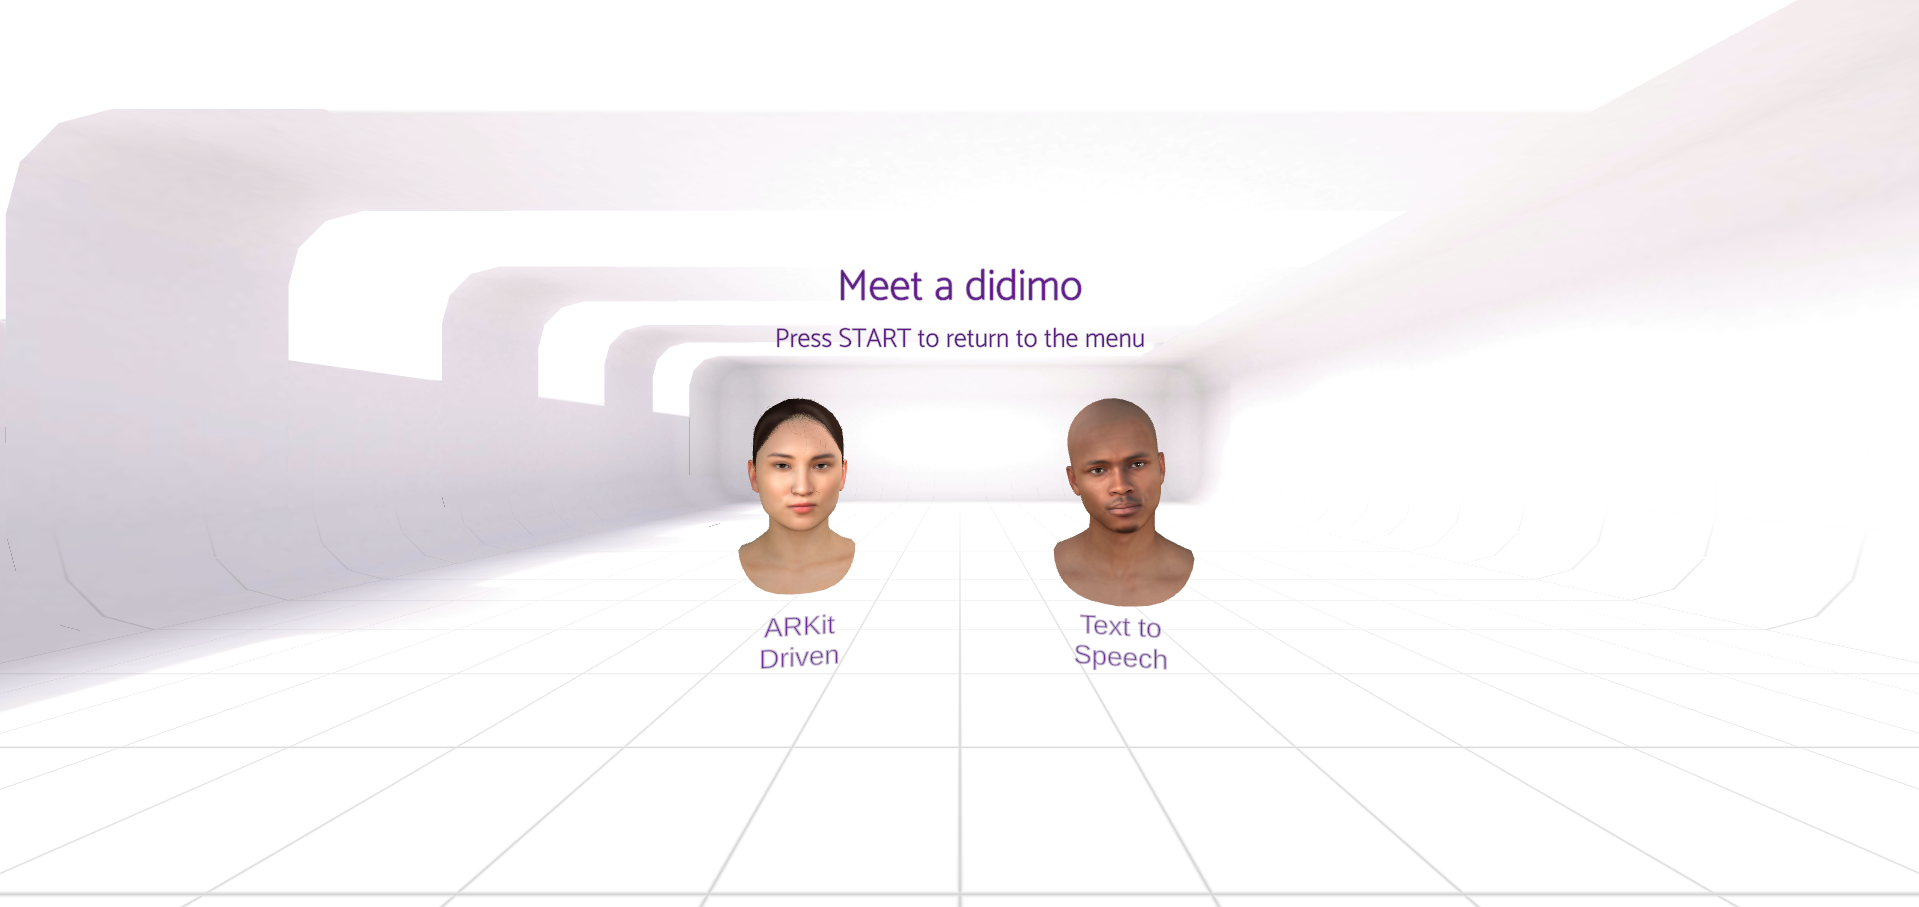
Meet a didimo
This demonstration, also present on our Unity SDK, consists of a scene where two didimos automatically exhibit their built-in functionalities.
The first didimo’s speech, shown via the female on the left, is produced using Apple ARKit Face Capture to capture the audio of the voice as well as head movements from a real person to animate the didimo using only an iPhone. In order to properly implement this integration, visit our Developer Portal page Integration: ARKit Face Capture.
The male didimo on the right in the scene uses Amazon’s Polly Text-To-Speech, a service that when provided with a written text with the intended speech, returns an audio and JSON file with the respective animations for the mouth poses (visemes). Please visit our Developer Portal page to learn more: Integration: Text-To-Speech.
Both didimos also use idle animations to provide a degree of realism to our digital humans. More on how to implement facial animations in the Developer Portal - Facial Animations.
Oculus Lip Sync
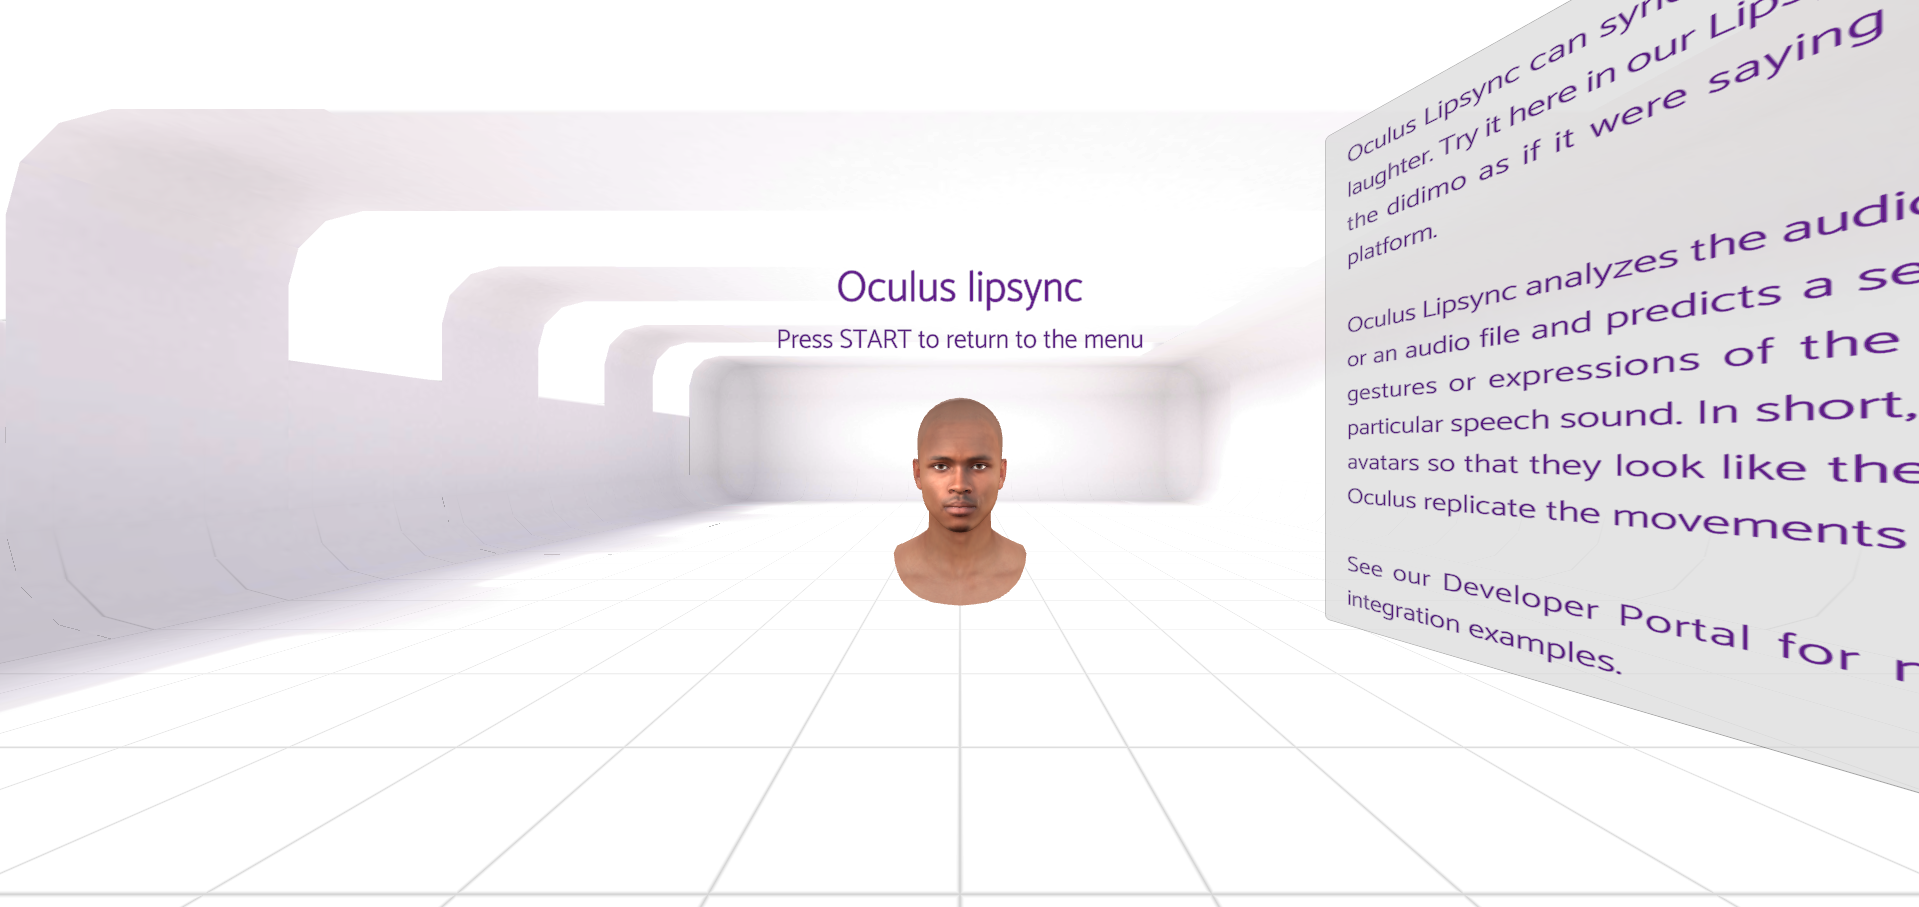
This scene demonstrates the Oculus’ Lip Sync integration, with a didimo that mirrors the user's motions. It has head tracking, so it can follow the head movements captured by the Oculus Quest as well as the Oculus Lip Sync solution, which captures the user’s voice and translates each sound into the respective viseme. To learn more on how to properly integrate Oculus Lip Sync with didimos, please visit the Developer Portal - Integration: Oculus Lip Sync
Didimo inspector
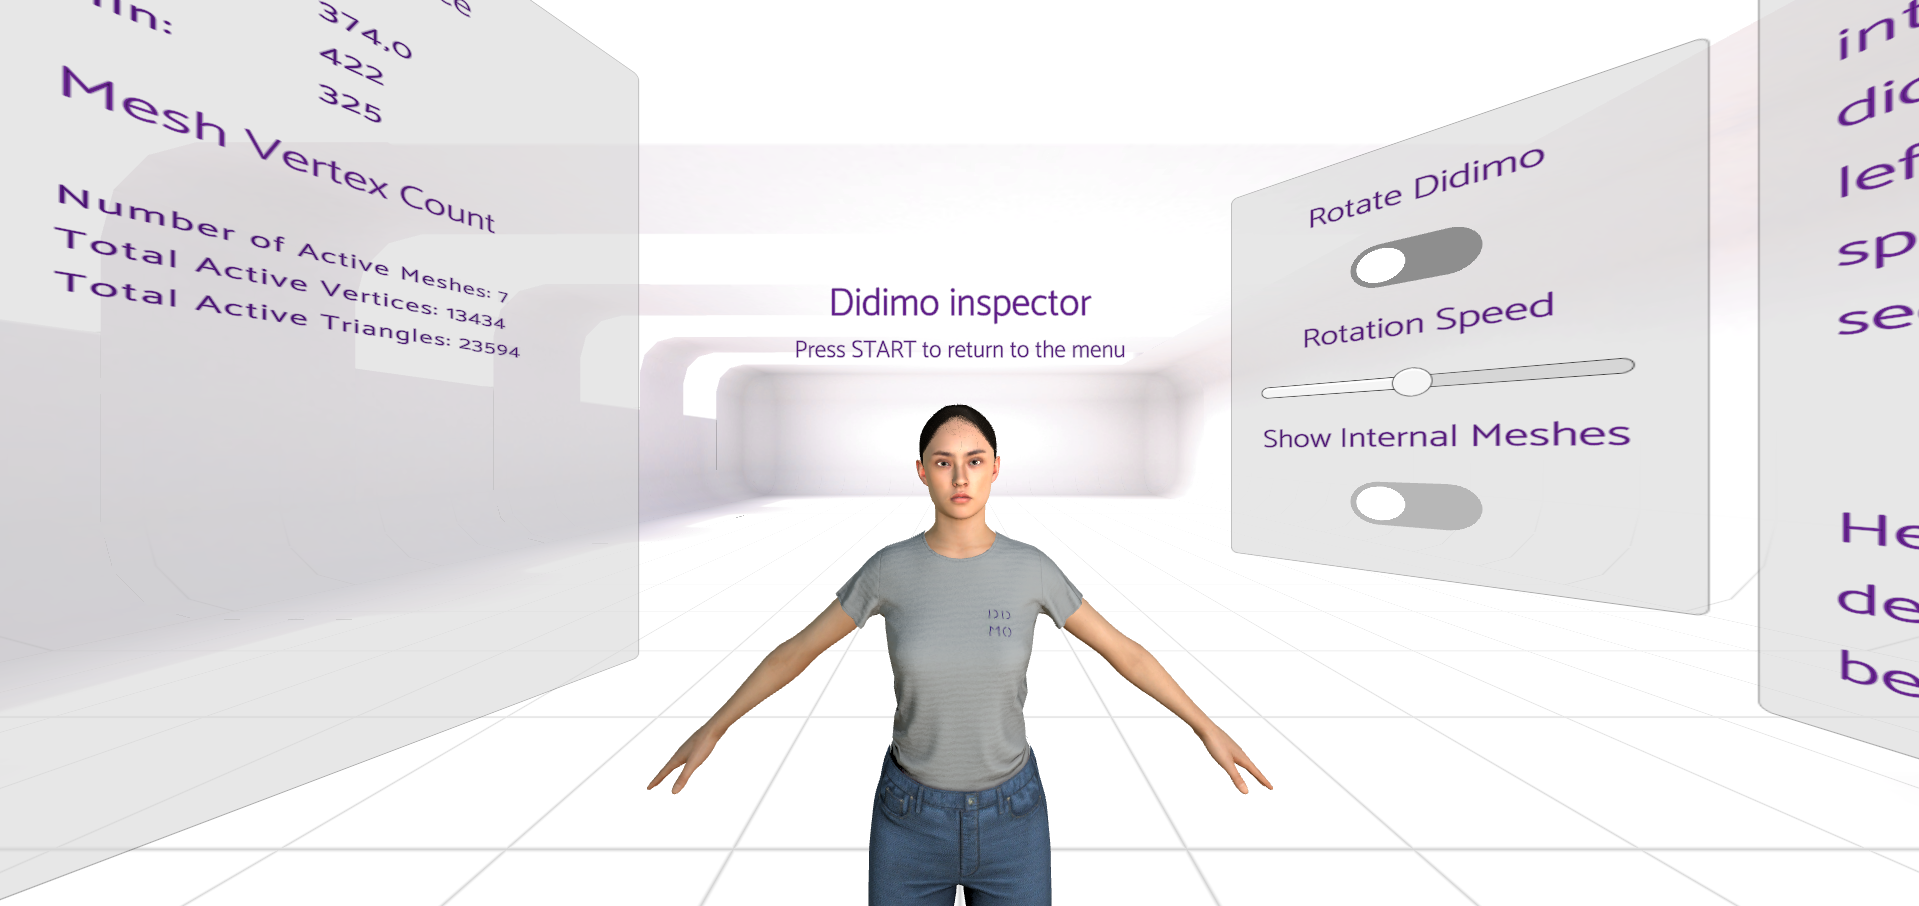
This example lets users thoroughly inspect a didimo’s appearance. You can rotate the didimo, toggle on and off the outside meshes and also examine metrics such as number of meshes, triangles, vertices and performance.
Meeting Room Example
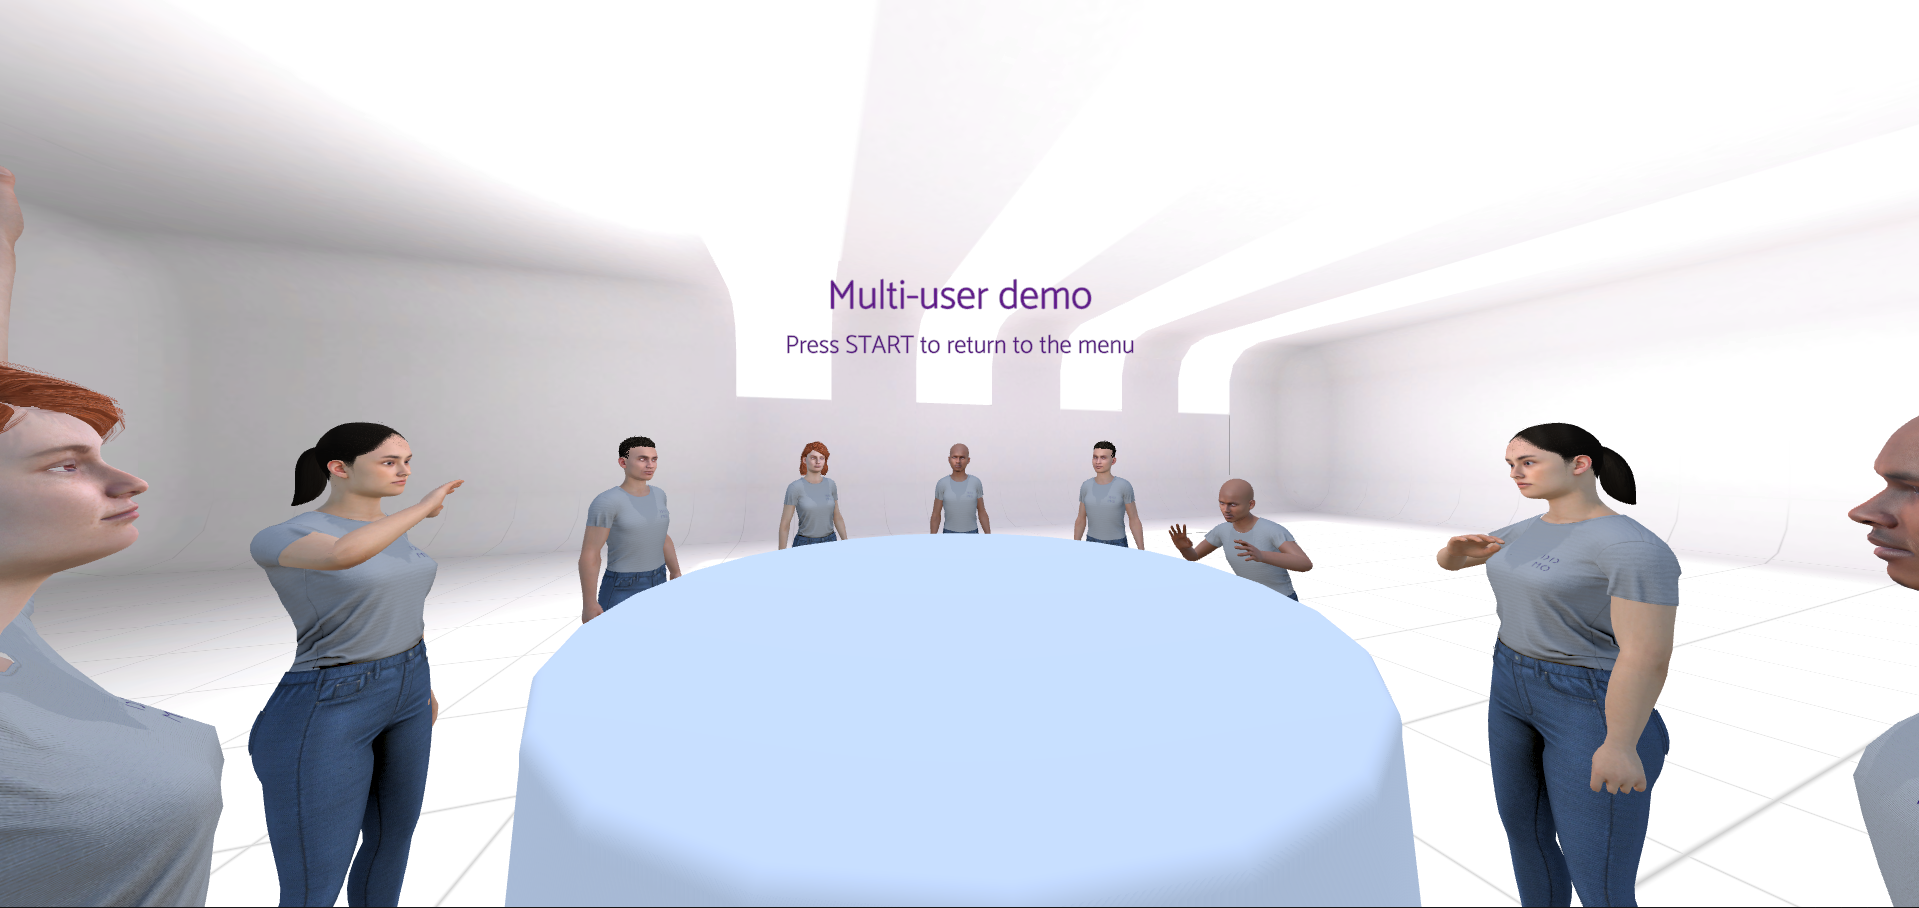
This scene exemplifies the capabilities of didimos when used in an online meeting room context. Didimos are gathered around a round table and when a user enters the scene, one of the generic didimos is replaced with a unique didimo, with which the user can interact with the other participants. Up to 10 people can join this meeting room.
Our networking solution was achieved using the following Unity packages:
The server has a single online room for everyone that downloads the app to experience, with a maximum of 10 slots. For our demonstration purposes, this implementation was adequate to showcase the capabilities of didimos over the network, but we do not encourage this kind of strategy in a full application, since it is neither performant nor efficient enough for larger settings with more people or more objects requiring updating in the network. Visit Unity’s tutorial to Get Started With Netcode for GameObjects, in order to understand how these solutions are implemented.
User Input
In order to have an effective virtual reality meeting room using didimos and to make them feel more alive, we have included idles, eye blinking animations, and a set of ways for the user to provide input that will be translated into more organic movement.
Arms Inverse Kinematics
The Inverse Kinematics for the arms was achieved using Unity’s solution and proprietary methods. The requirements are that the didimo needs to have the Animator component attached, which will take care of the animation, as well as a Humanoid Avatar Rig (since the IK methods are only applied to this specific setting). After that, we use the Oculus’ camera rig tracking input from the headset, as well as both controllers to be our movement references, and the arms movement is determined by the Animator’s SetIKPosition() and SetIKRotation() functions which take these references to infer the arms’ motion.
Hand Poser
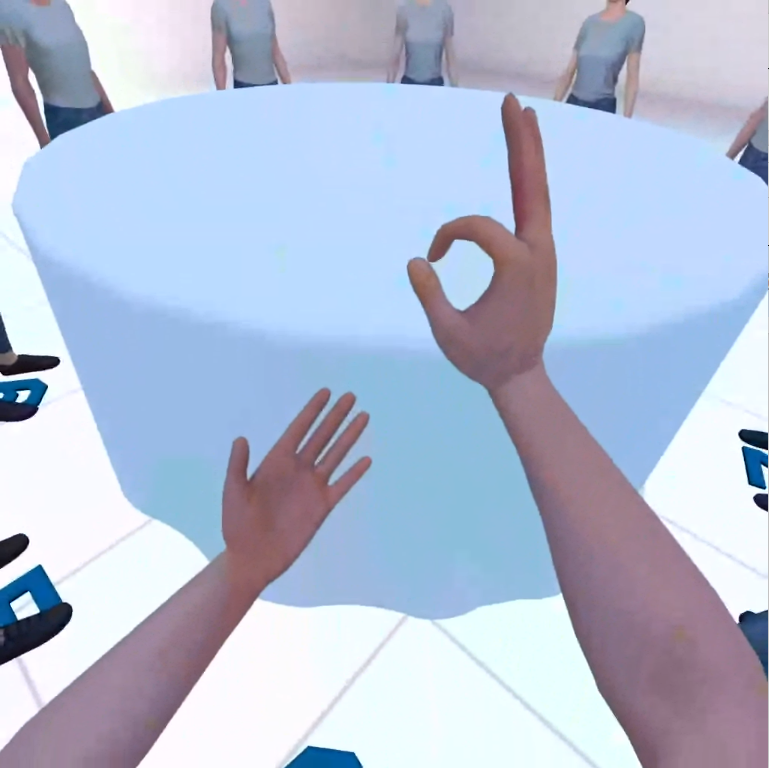
Some hand animations were added, so we could further communicate in the Meeting Room. The animations are:
- Pointing
- OK Hand Sign
- Thumbs Up
- Fist
They are also triggered using the Animator, for both hands, and using both controllers' face buttons (A, B, Y, X) and triggers
Head and Body tracking
As already shown in the Lip Sync scene, the head and body of the didimo will move according to the head rotation and position of the user in the VR headset.
Oculus Lip Sync
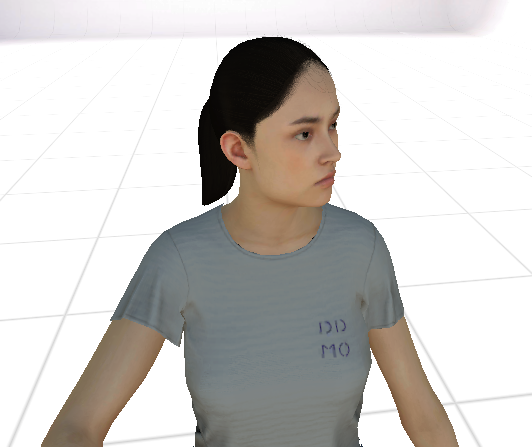
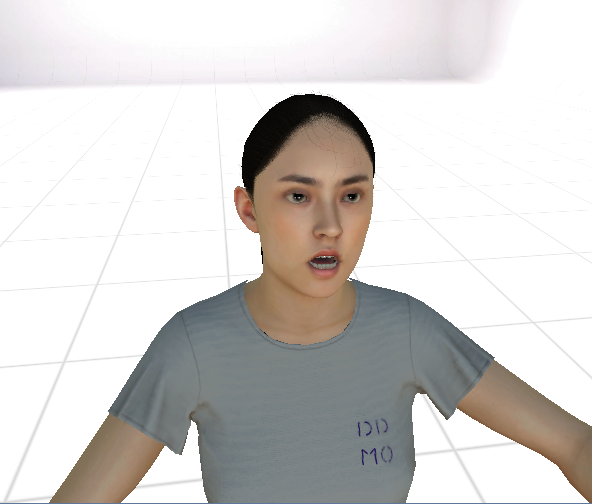
We have also implemented Oculus' Lip Sync functionality, so the didimo we are controlling has the mouth animated, as we speak inside the Meeting Room. Further information can be found at Developer Portal - Integration: Oculus Lip Sync.
Optimization
Optimizing for the Oculus Quest 2 is a particular challenge due to the constrained nature of the hardware and the fact that it aims to render at 90 frames a second. In addition to this, the display is rendered twice!
The oculus quest 2 contains an Adreno 650 GPU, which is similar to that found in high-end smartphones - while it is a capable GPU, it is still a mobile GPU and these are both less capable than a desktop GPU and have different optimization best practices.
Mobile GPUs typically render a view as ‘tiles’, which can help with power-efficient optimized rendering. As such, they tend to perform poorly with fullscreen effects and deferred shading that might be an optimal choice for desktop but aren’t for mobile - this includes blooms, DOF and certain forms of anti-aliasing. With regards to anti-aliasing, we recommend only using MSAA which has hardware support. All other AA methods available in unity (e.g. FXAA, SMAA) are post processing effects that require heavy work for each pixel - just the sort of thing that mobile GPUs don’t enjoy.
Our optimization strategy involves careful analysis of where we’re spending time in each frame. We used a variety of tools for this, including Oculus’s own performance monitoring tools (available in the Oculus develop hub), Unity’s internal performance monitoring and an external tool called ‘RenderDoc’ which produces very detailed reports that are instrumental in our optimization process.
As expected, the largest problems discovered were the fullscreen effects mentioned above. However, to reach our goal of 10 didimos on screen at once, we still had some more involved work to do.
While GPU performance can be a complicated topic, there are a few useful rules of thumb:
- Reduce the number of draw calls (in other words increase batching)
- Reduce the number of material changes
- Reduce the number of different textures used
- Reduce shader complexity
- Reduce polygon count and/or use LODs.
We’ve explored all of these points and now have several levels of optimization that should help our customers optimize their scenes. Firstly, our didimo packages were originally designed with encapsulation in mind - each didimo package is a self-contained package. However, several textures within a didimo are shared between all didimos, so the first and easiest improvement is to remove duplication.
Secondly, several textures are on single channels, which means that on some hardware that doesn’t support single-channel textures, these could be using 4 times as much memory as they should use (three wasted channels). To solve this, we wrote texture packing tools that combine single channel textures into combined textures, one sub-image per channel.
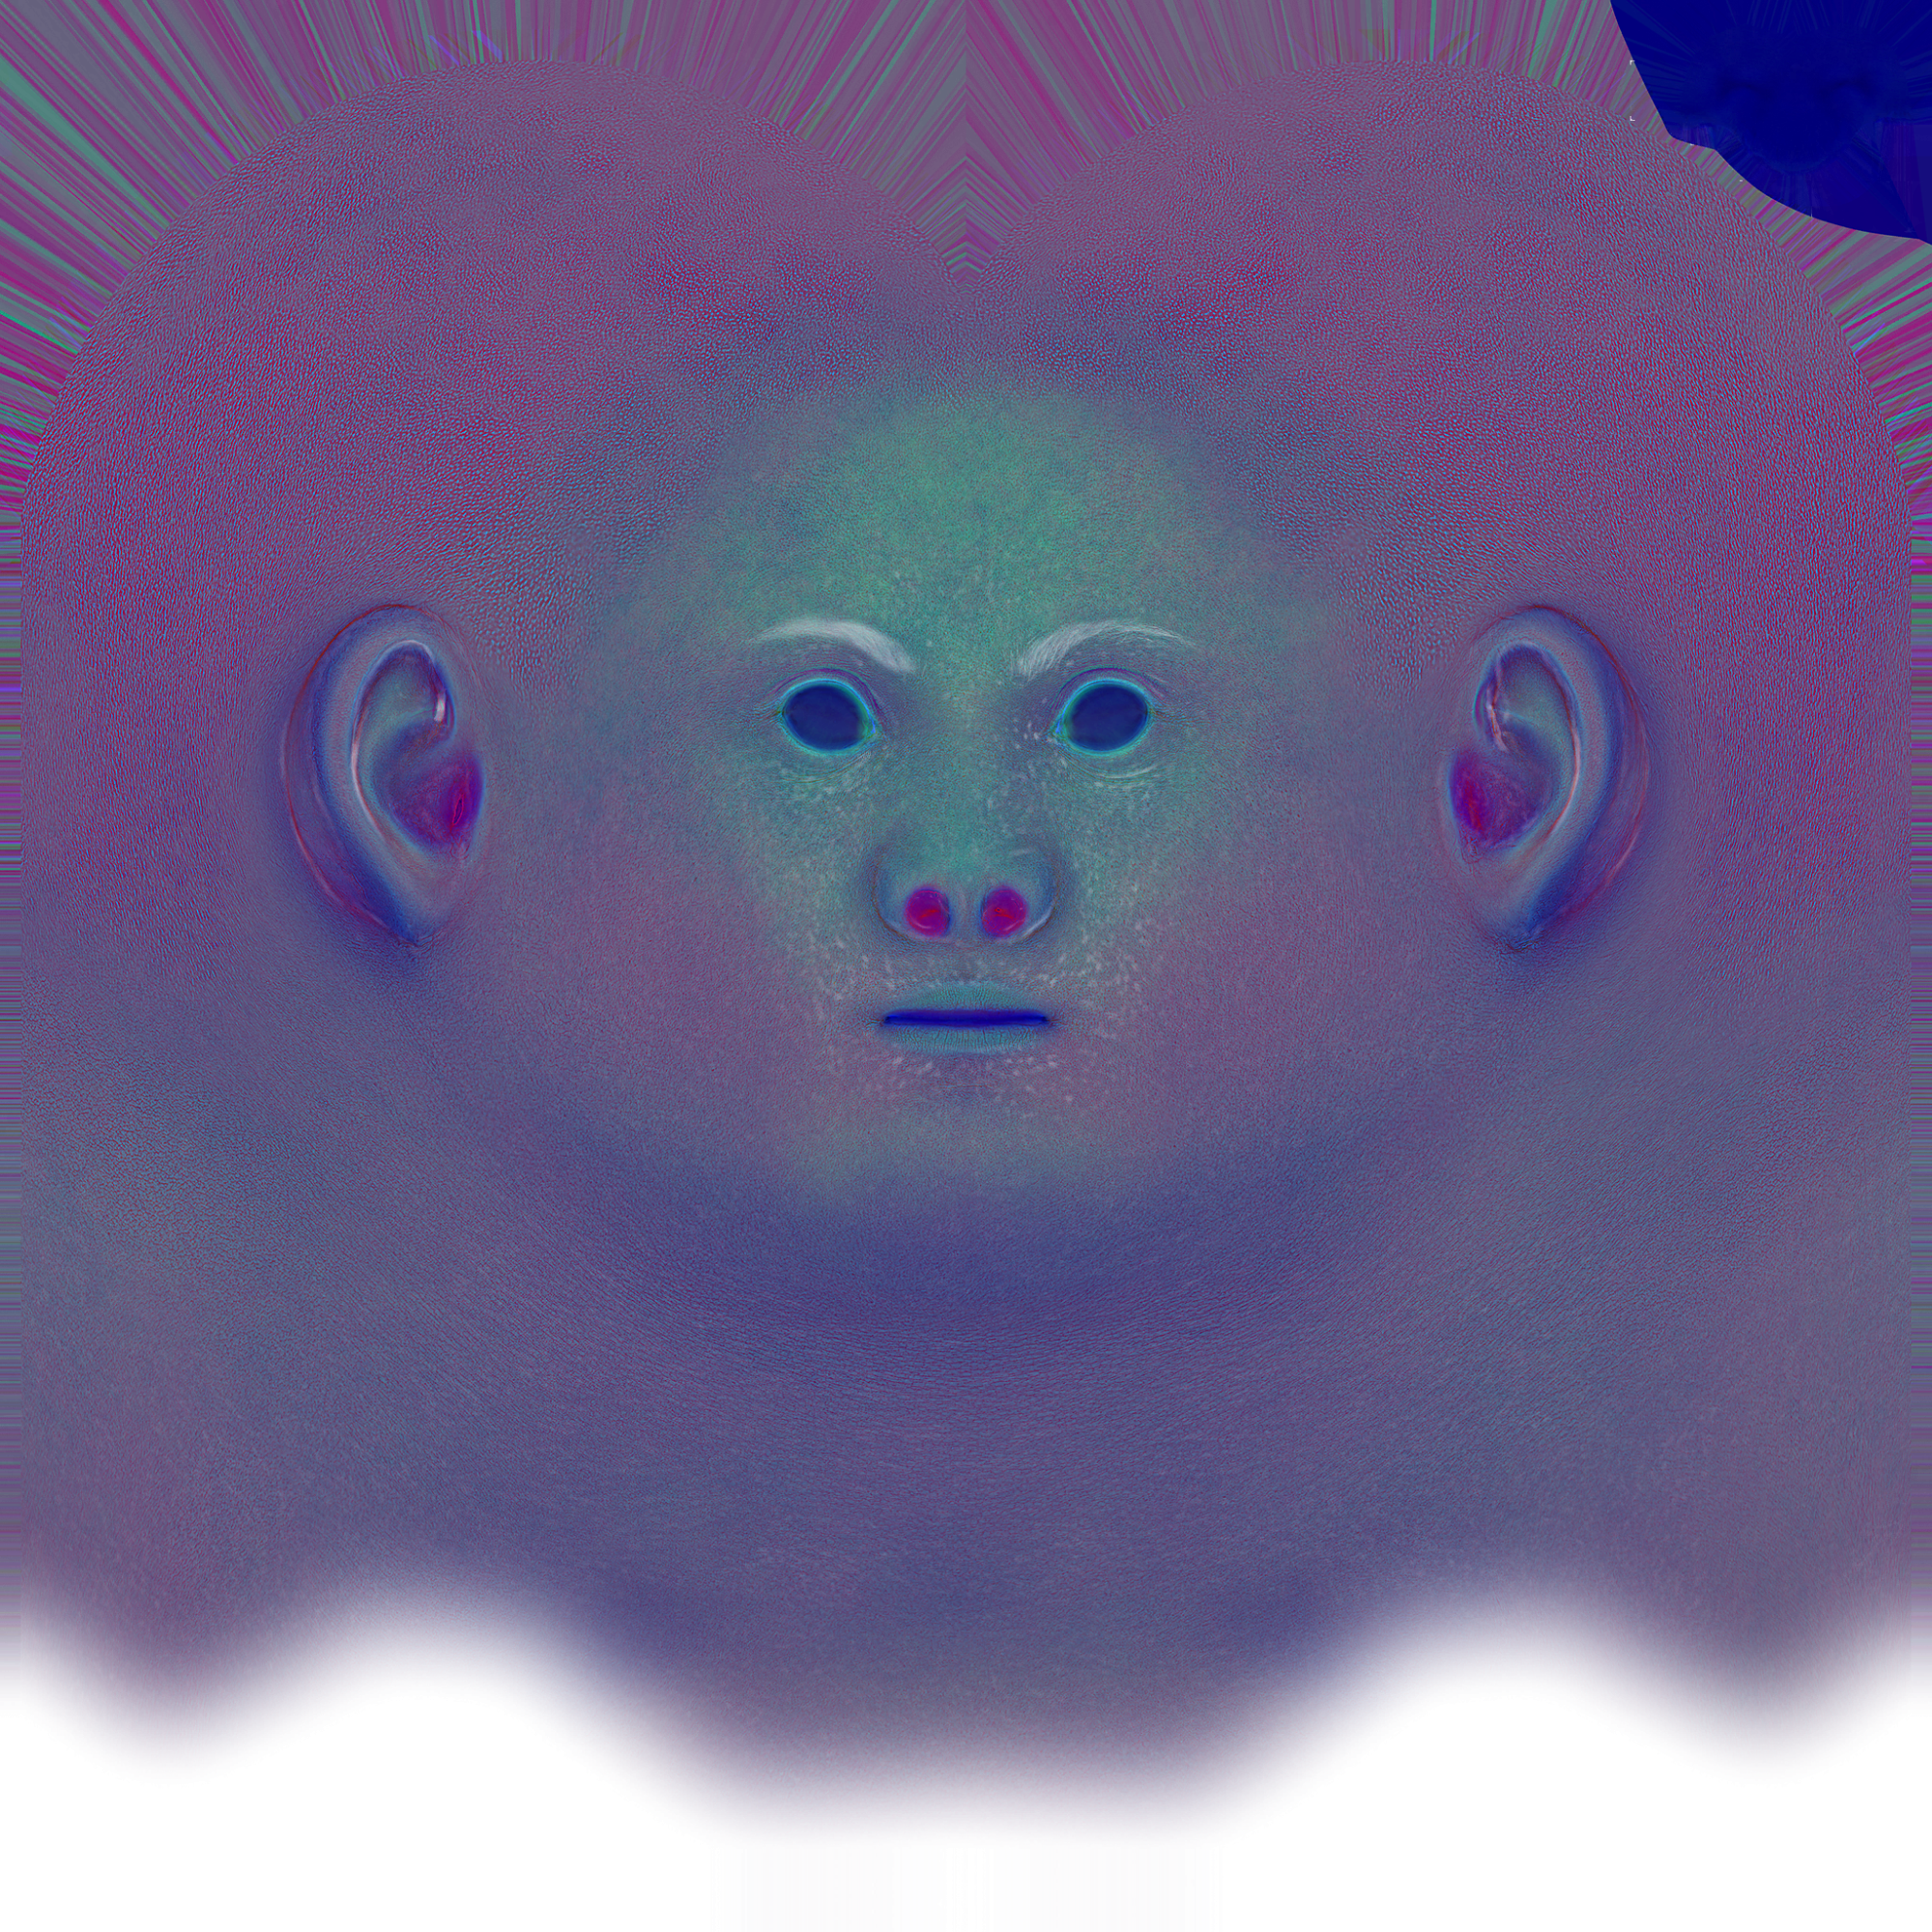
A combined texture map.
This improves GPU memory usage and reduces shader complexity, as the texture can be sampled just once to retrieve four values rather than 4 times as it would with separate textures even if they were stored in an efficient manner.
Sharing textures and reducing redundancy improves performance, particularly in scenes that previously would have overloaded the GPU’s memory (which can cause swapping between the CPU and GPU - something desireable to avoid. Ideally the CPU and GPU shouldn’t talk to each other much) but we can do more: each didimo is still rendering with a separate draw call. So we sought to render all our didimos with just one draw call.
Texture Atlasing
In order to render all the didimos with just one draw call and improve performance, we can combine all of the textures into texture atlases. At the highest mip level, these are large (4096x4096) texture pages containing up to 16 different didimos textures in one page. Some combined pages can be smaller than this (notably, textures containing low-frequency data such as certain masks, z-bias map, etc) and so they are: there’s no point wasting valuable GPU memory and potentially bandwidth. Next, we need to ensure that when we’re rendering a didimo, we know which one is being rendered inside the shader. After a few iterations, we found that an extra vertex channel that identified the didimo was an optimal solution and we reduced the draw call count for our didimos using this approach.
How to Build the App
This section will walk you through the build steps for the Oculus Client and Server.
To edit the shared settings between clients and server, open the BootstrapManager prefab (search for it in the Project window) and either
a) To run the server locally, de-select the "Perform DNS lookup" checkbox
b) To run the server on a specific address, edit the address of the DnsLookupForUNetTransport component
The server and clients will communicate through port 7777 by default. You can configure this in the UnityTransport component
Client Build
If you want to build a client for your Oculus Quest device:
- Make sure Android Build Support and its submodules are installed, through Unity Hub.
- Add these scenes to Unity's Build Settings, in the following order
- MainMenu
- MeetADidimo
- LipSync
- Didimo Inspector
- MultiUser
- MultiUser2
- Build and upload to device
Server Build
If you want to build the server:
- Make sure the Windows Build Support (IL2CPP) module is installed, through Unity Hub.
- Add the MultiUser scene to Unity's Build Settings. It should be the first (and only) scene.
- Toggle "Server Build" on
- Build and run your server
Updated 9 months ago
